|
|
Welcome to Dunton
Family Farms
|

|
Garden Tool Shed Summer 2006 |
||||||||||||
|
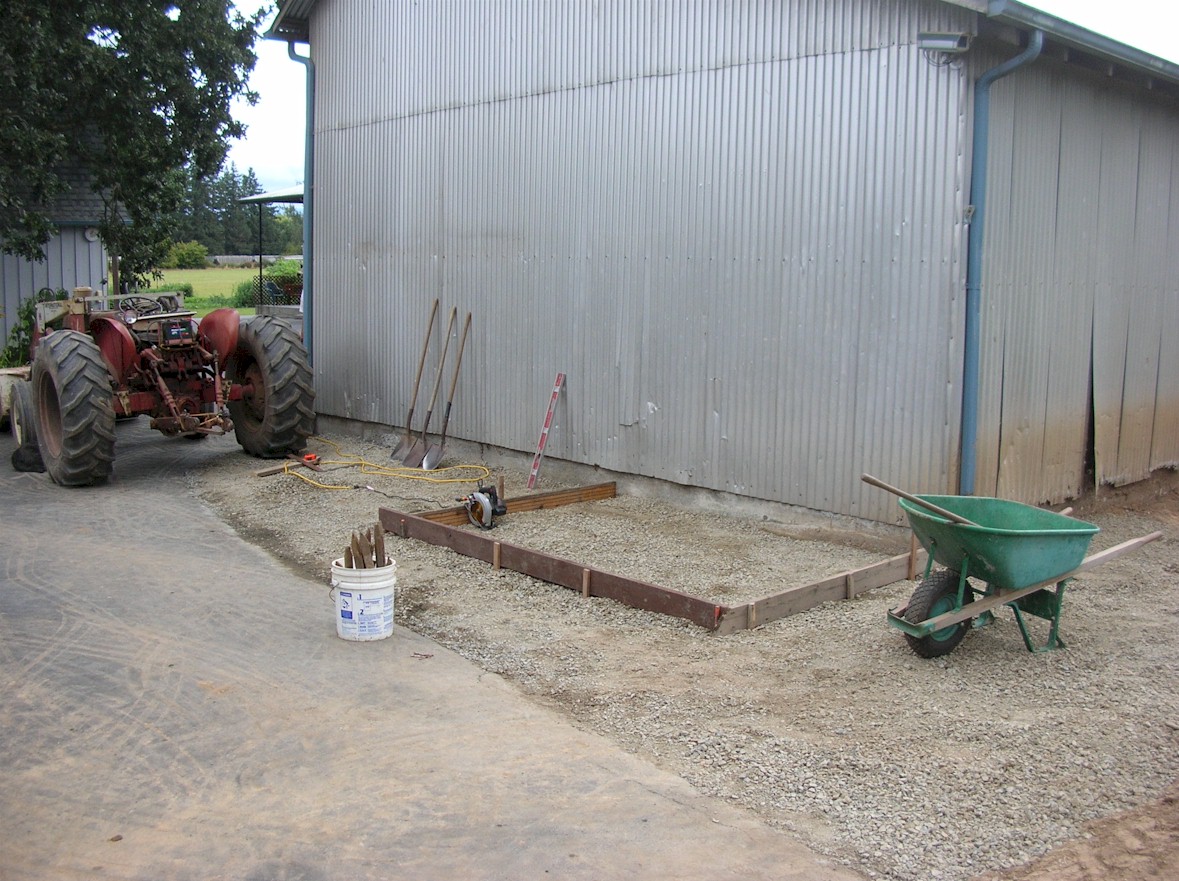
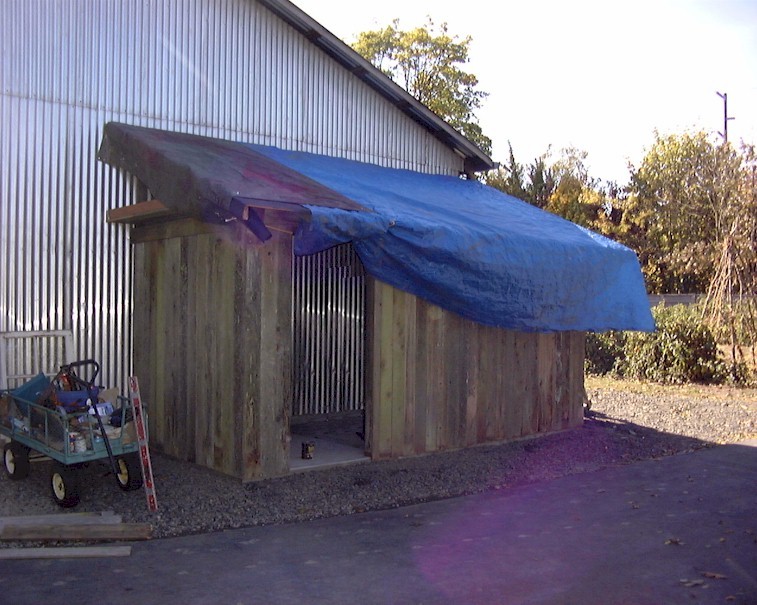
Another project that came to the top of the list this year was to tear down an old lean-to, modernize it with a concrete slab, and make it look more presentable. It will be used as a garden tool / storage shed.
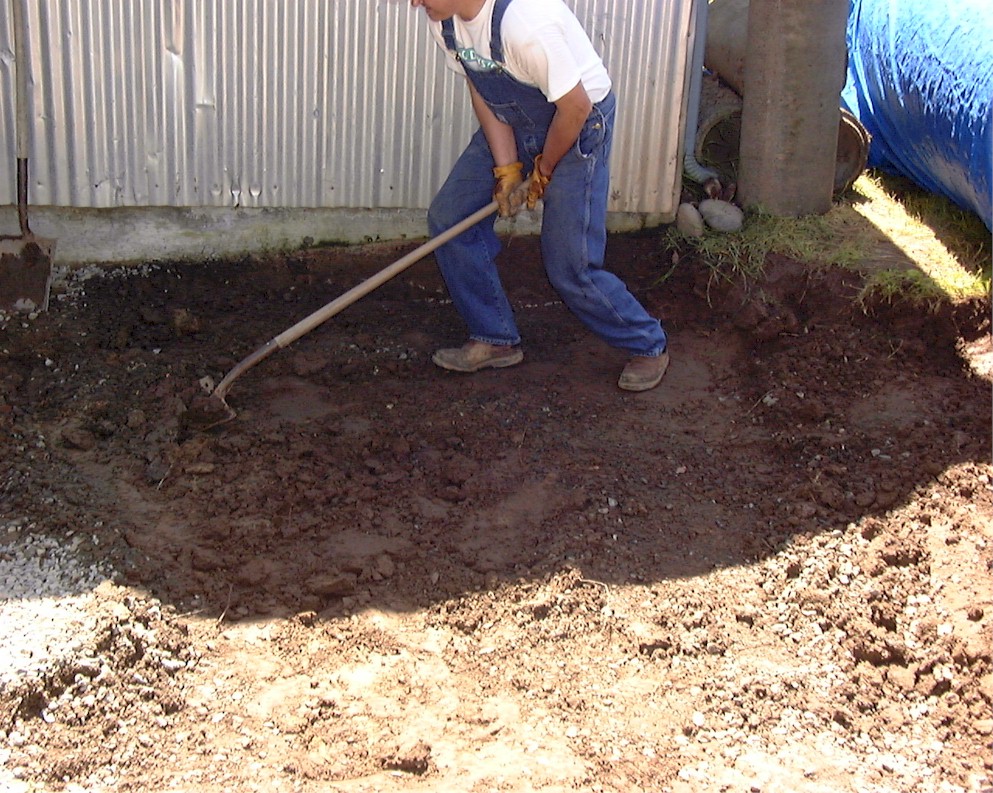
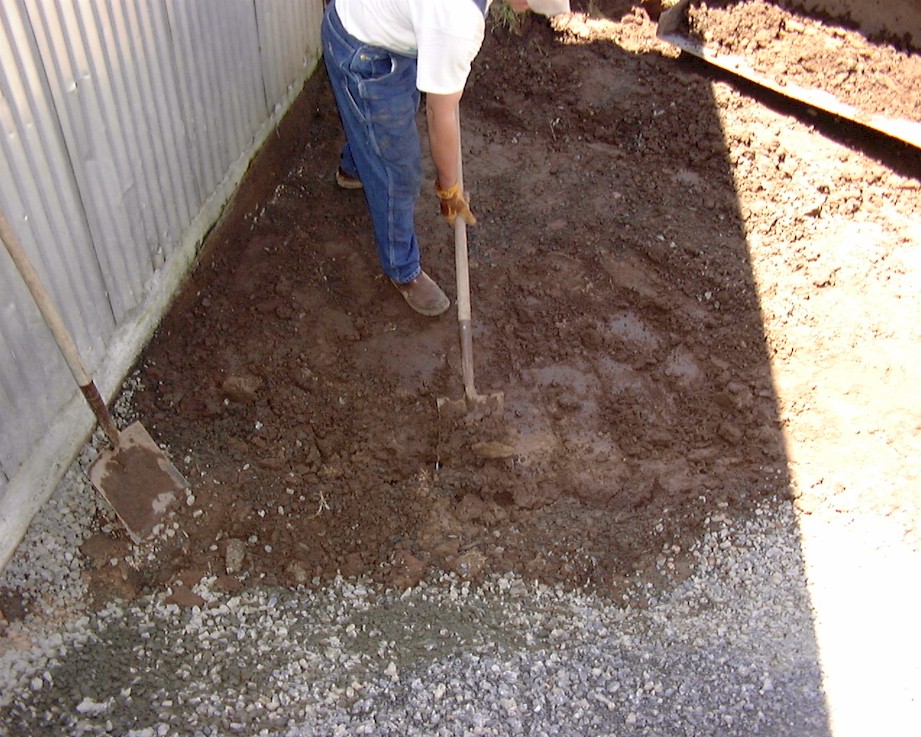
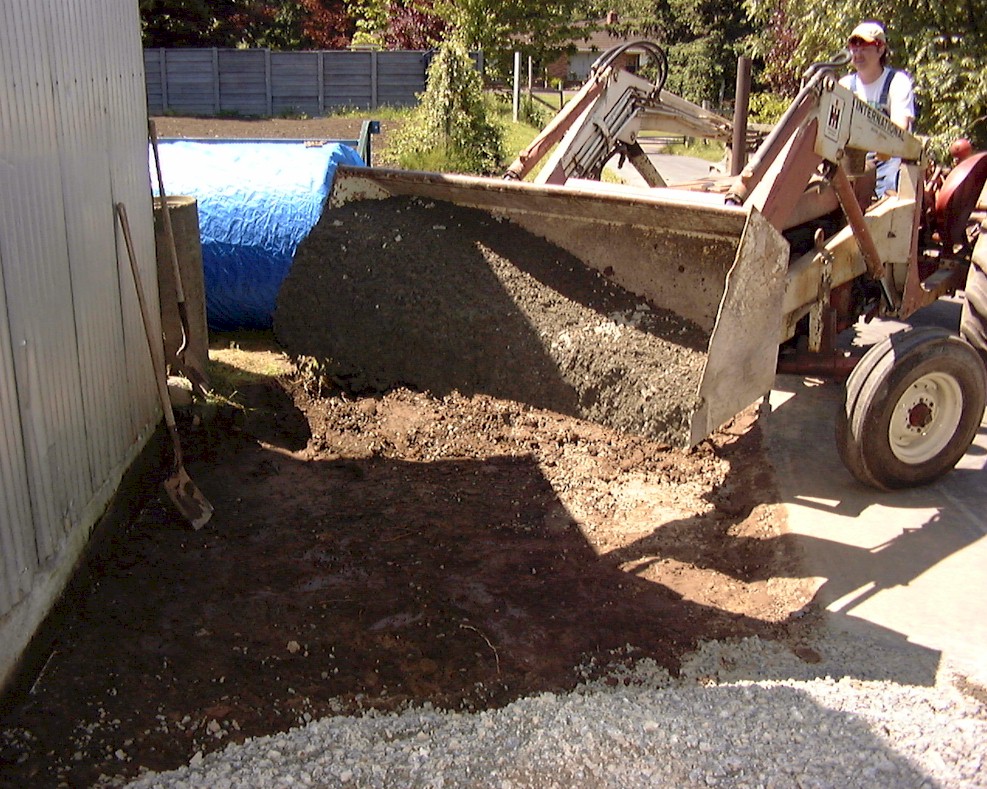
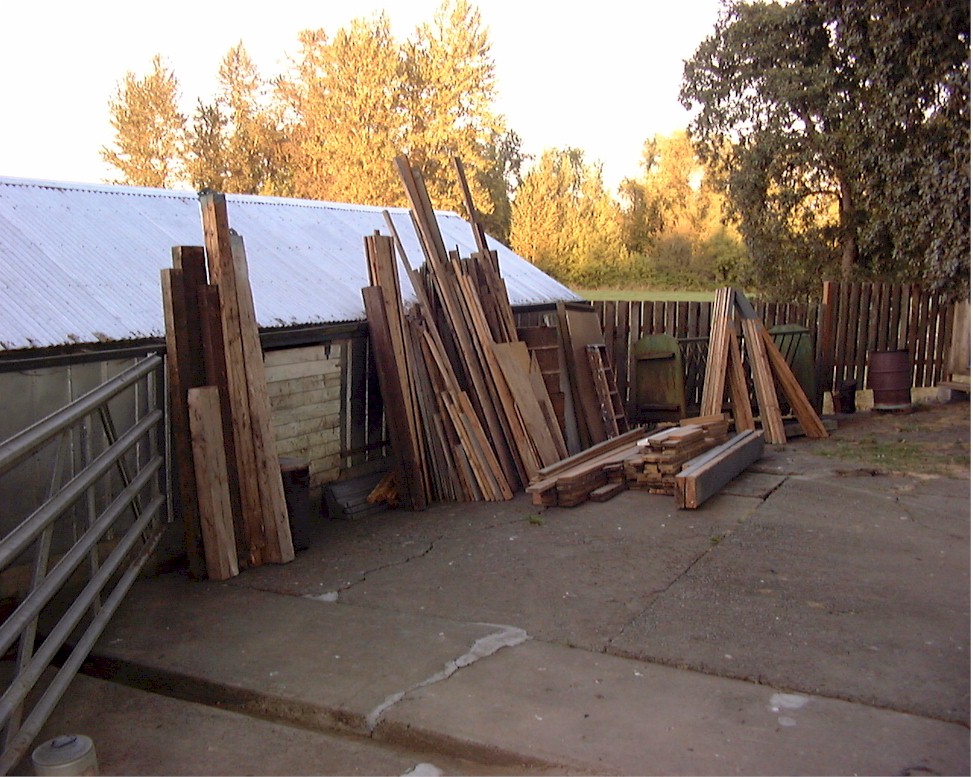
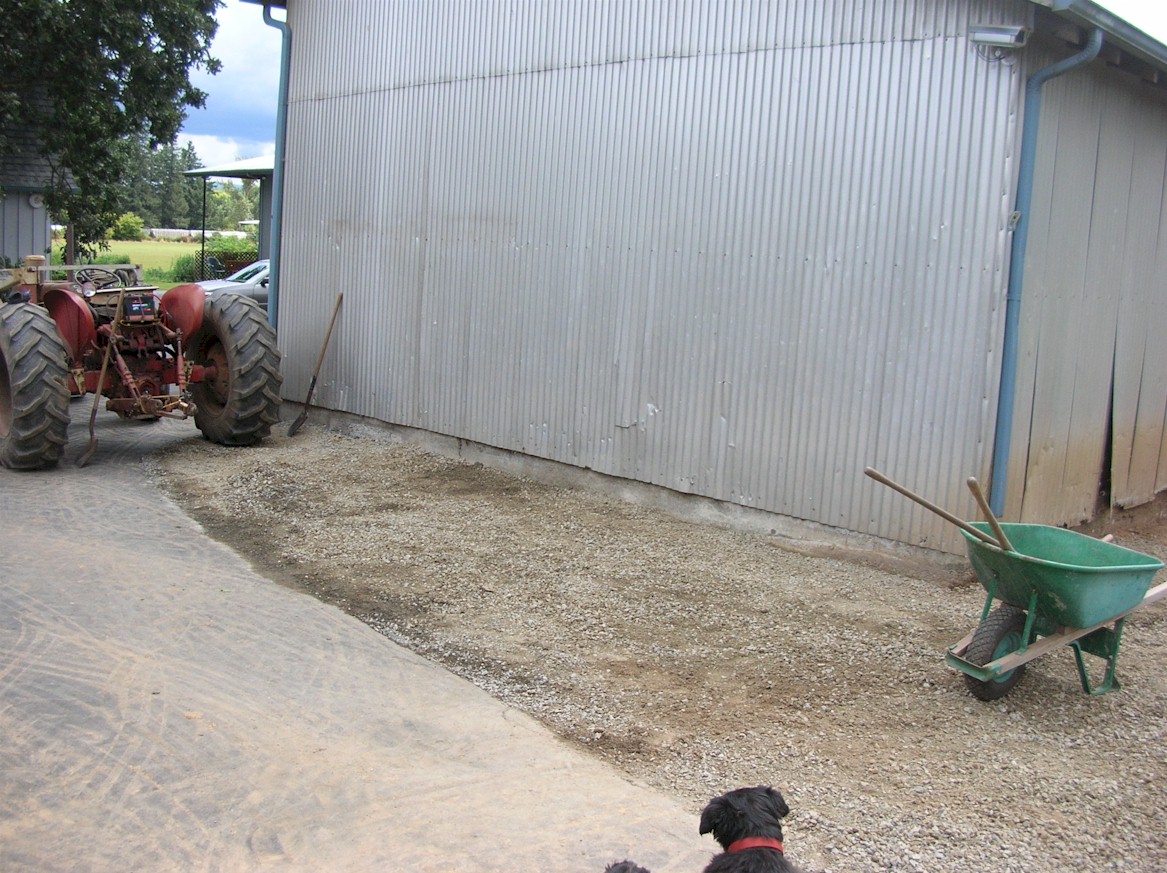
We had ten yards of crushed rock delivered and dropped into the area next to the machine shed where we tore down the old shed. Then it rained so today was the first nice day to get back out to work. Much of the gravel was on the driveway so we had to get it cleared off. Dad had worked on replacing the batteries (as well as all of the battery cables and connectors) on the old IH-606D so it now fires right up, is easy to get moving, and is handy to use. I used it to turn a job that literally would have taken us days with shovels and wheel barrows, into a couple hour job. First I excavated out about 8 to 10 inches of soil on the west end and used it to fill in the low spots on the hillside (first picture). We did some hand shovel work close to the machine shed foundation but hauled with the front-end loader. Then we moved gravel. There is still a good sized pile but the area is compacting and settling. We will end up using any extra in the greenhouses as floor material.
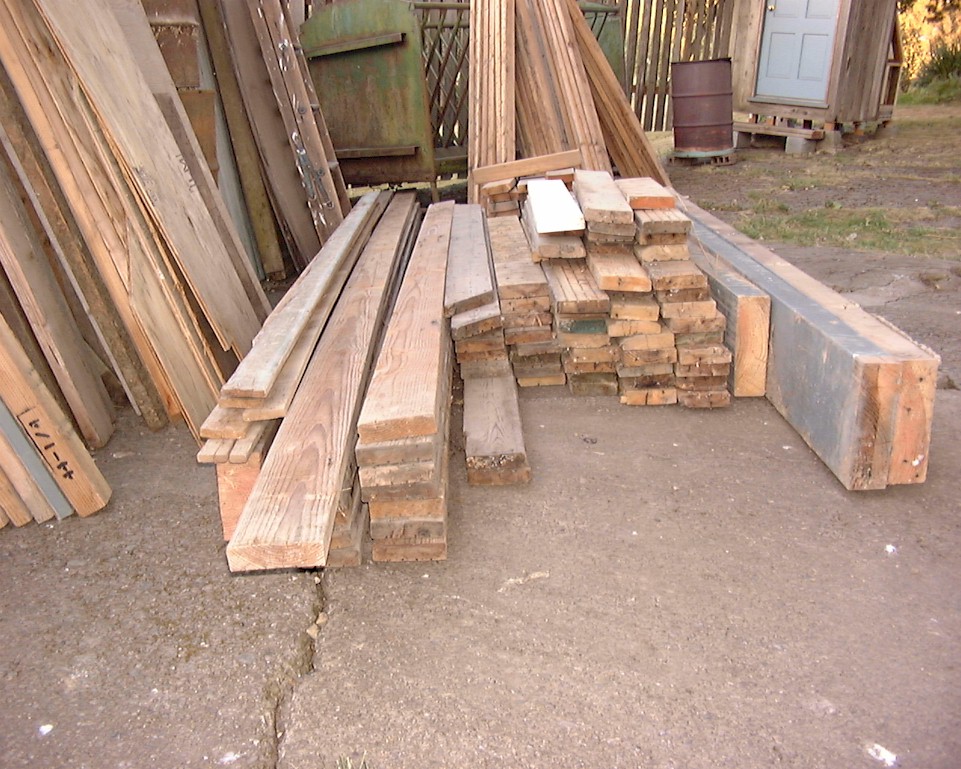
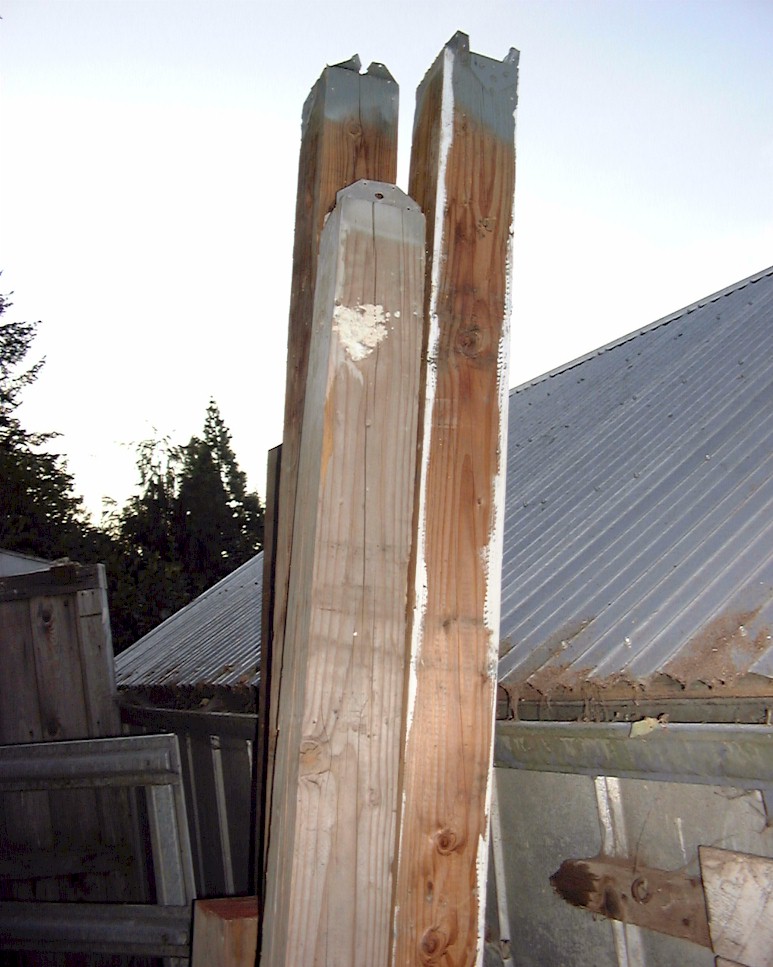
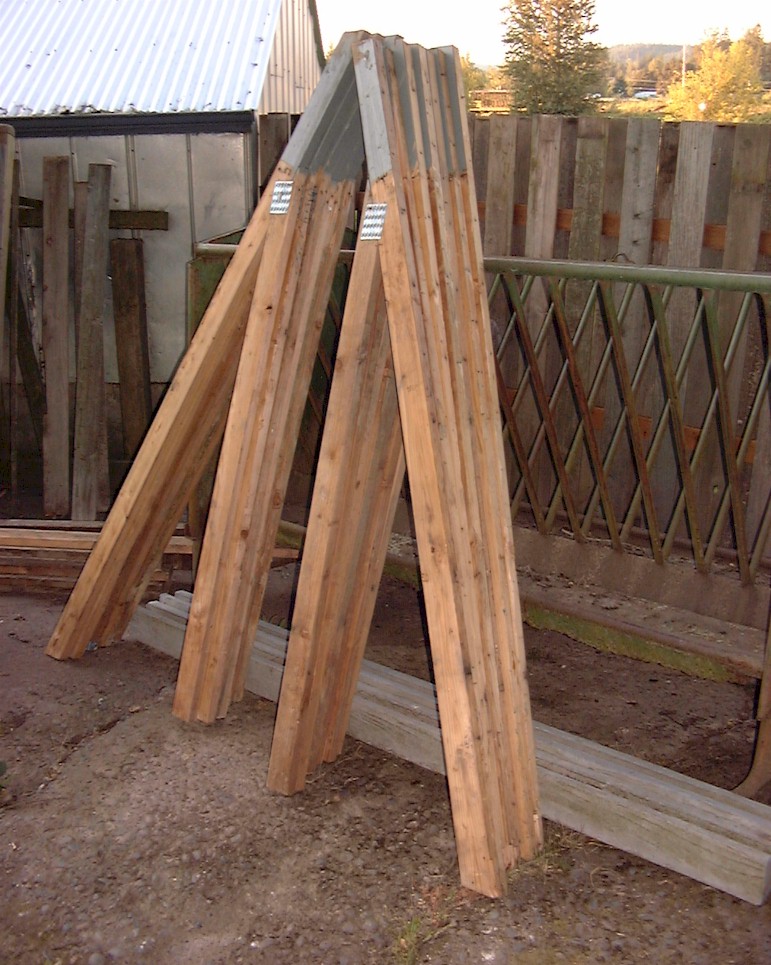
Yesterday and today we scored a whole pile of waste used lumber from a cousin's house remodeling project. Using this pile of lumber along with boards from our old fence for siding, we will not have to buy very much lumber for this shed at all. A good example of reusing material otherwise destined for the landfill. |


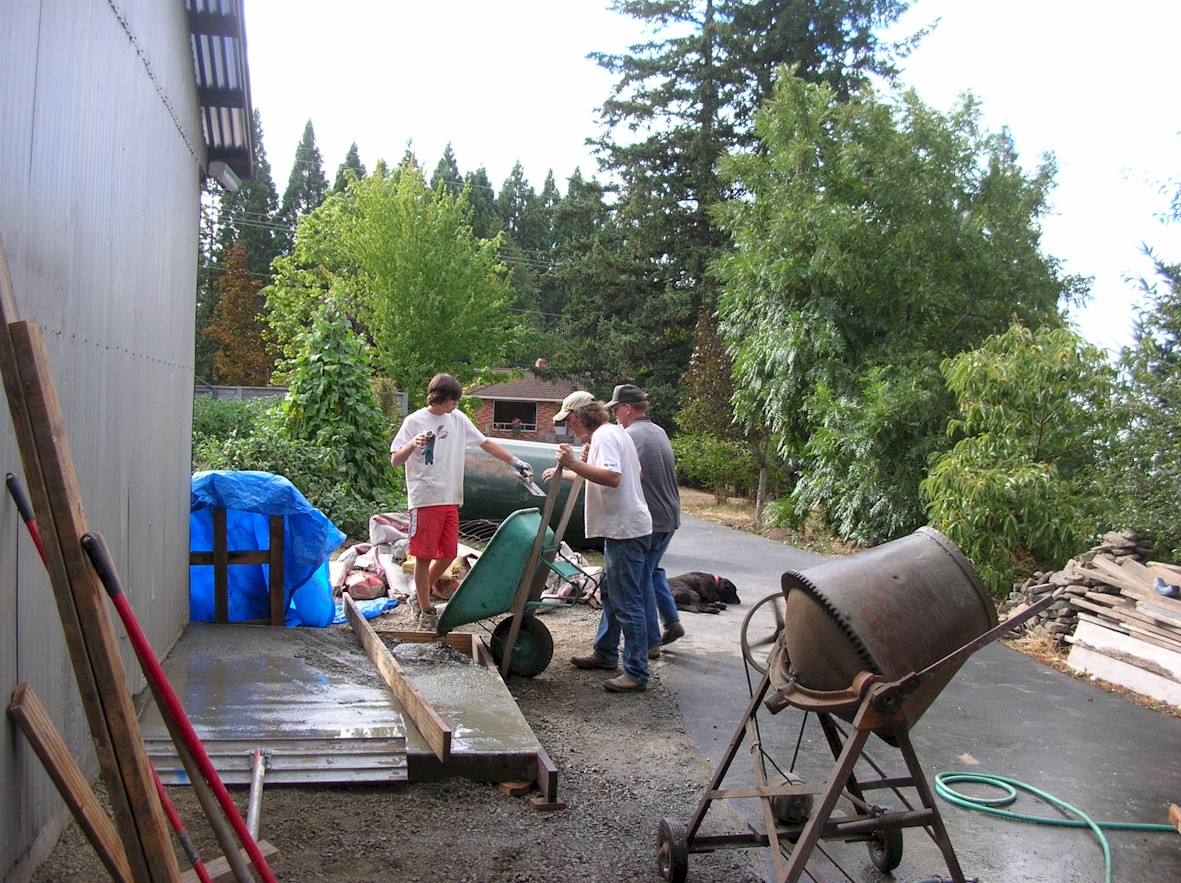
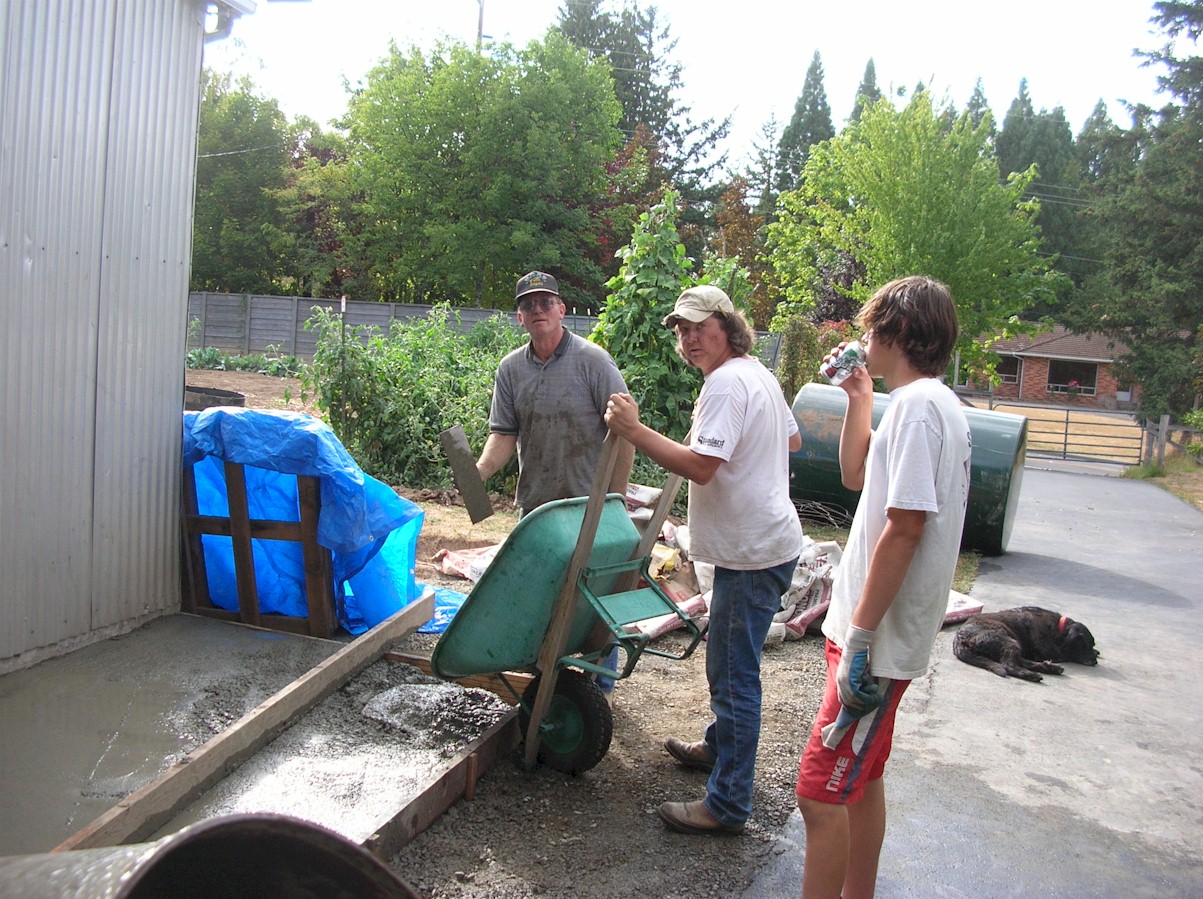
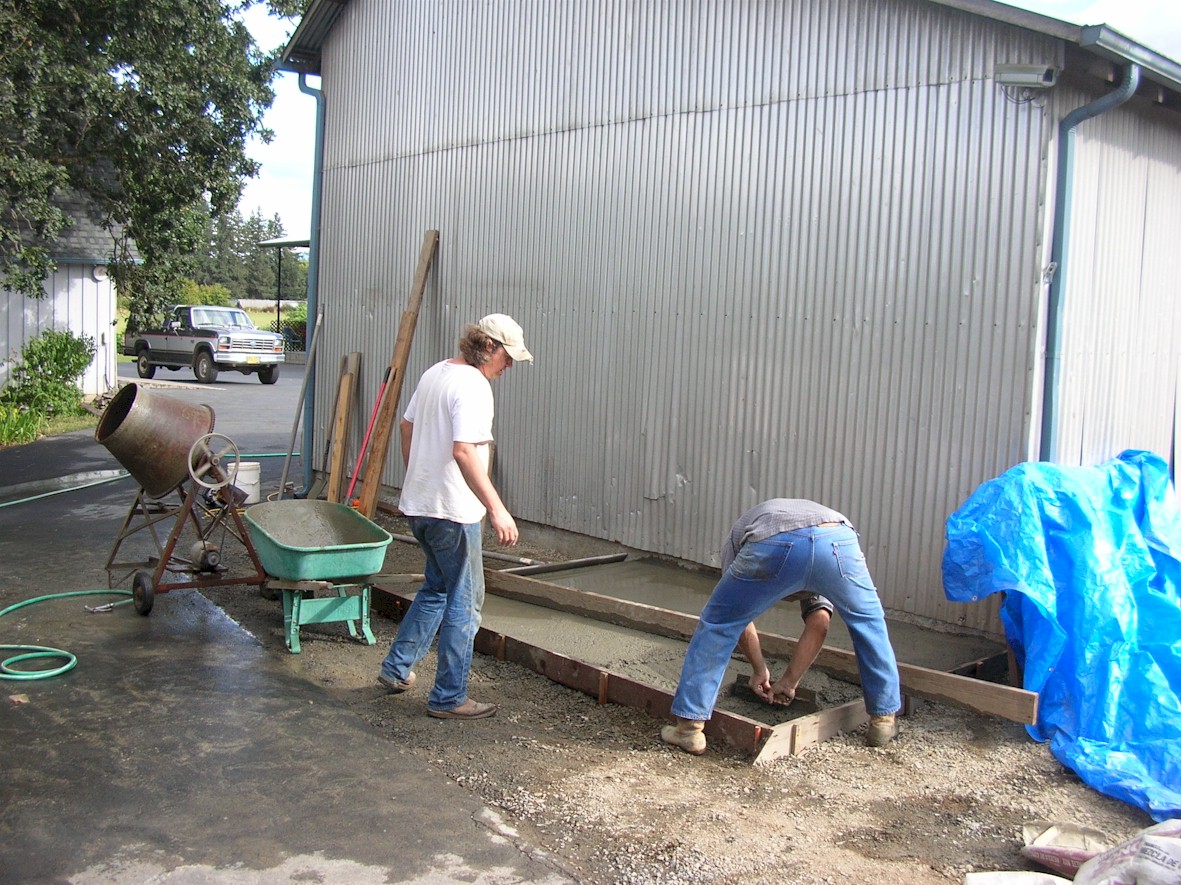
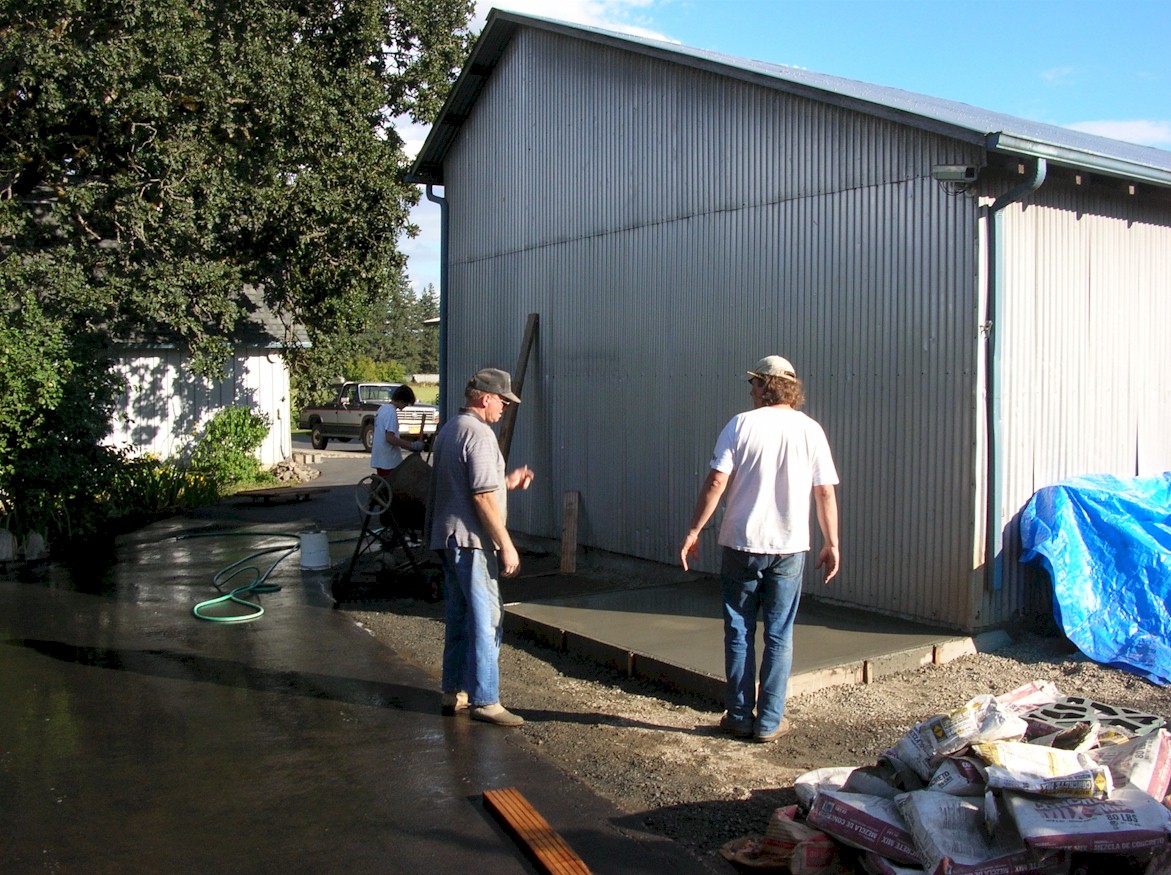
August 29 - 30, 2006: Finally. Some action on this project. With Mom and Dad's two month vacation departure date quickly bearing down on us, time got reprioritized to doing concrete work for the floor. With the help of family, we got the pad poured.
 |
 |
 |
 |
 |
 |
 |
I will call another cousin of mine tomorrow to order a truck load (or two) of gravel for the back of the machine shed.
 I
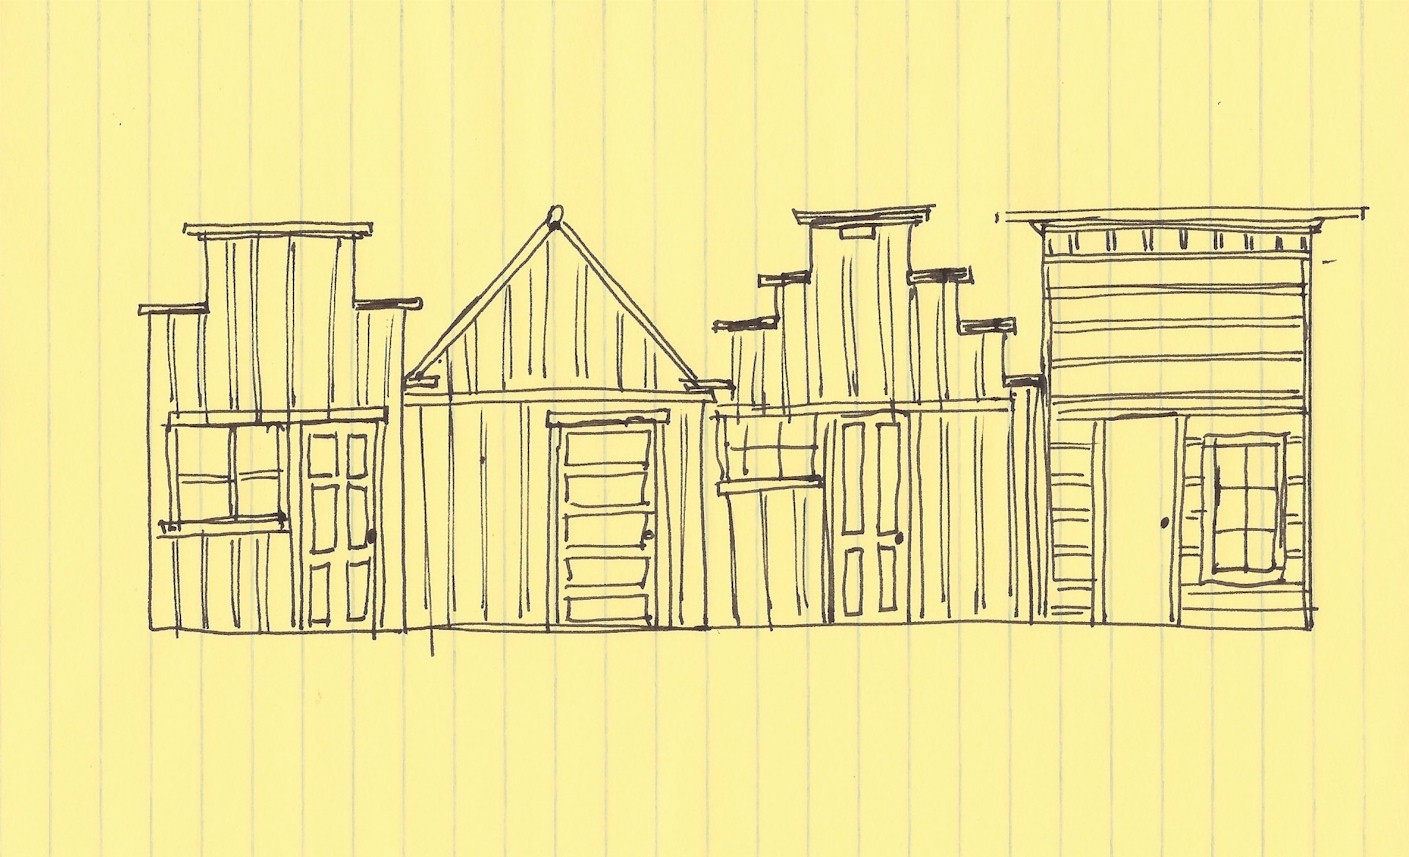
am thinking about using some of our old lumber, windows and doors that I have around here to
create a façade that
looks like a bunch of buildings from an old western town. I got this idea
while taking the family to The Enchanted Forest on Monday.
I
am thinking about using some of our old lumber, windows and doors that I have around here to
create a façade that
looks like a bunch of buildings from an old western town. I got this idea
while taking the family to The Enchanted Forest on Monday.
September 5, 2006 -
 On
Saturday (9/2), we poured a second pad next to the big one to make it a little
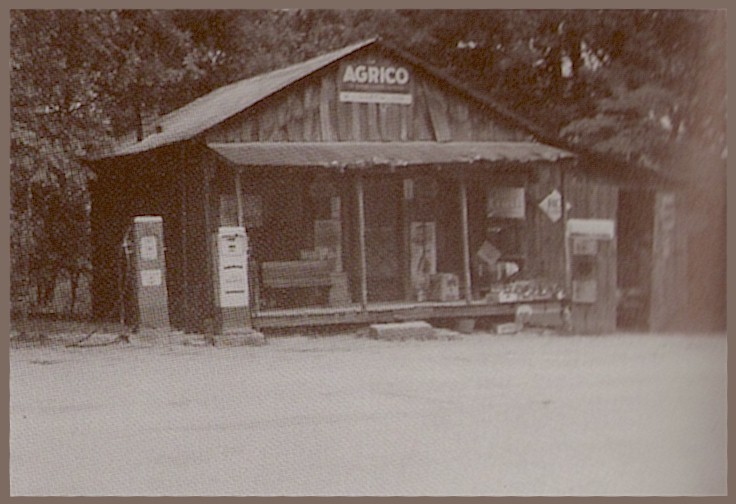
bigger. As the
project has progressed, I have dropped the idea of
small, scaled down multiple building façade. I am
leaning towards making it look like an old-time, 1940s
era country gas station. My buddy in Tennessee
sent me a picture of the old country store near him.
On
Saturday (9/2), we poured a second pad next to the big one to make it a little
bigger. As the
project has progressed, I have dropped the idea of
small, scaled down multiple building façade. I am
leaning towards making it look like an old-time, 1940s
era country gas station. My buddy in Tennessee
sent me a picture of the old country store near him.
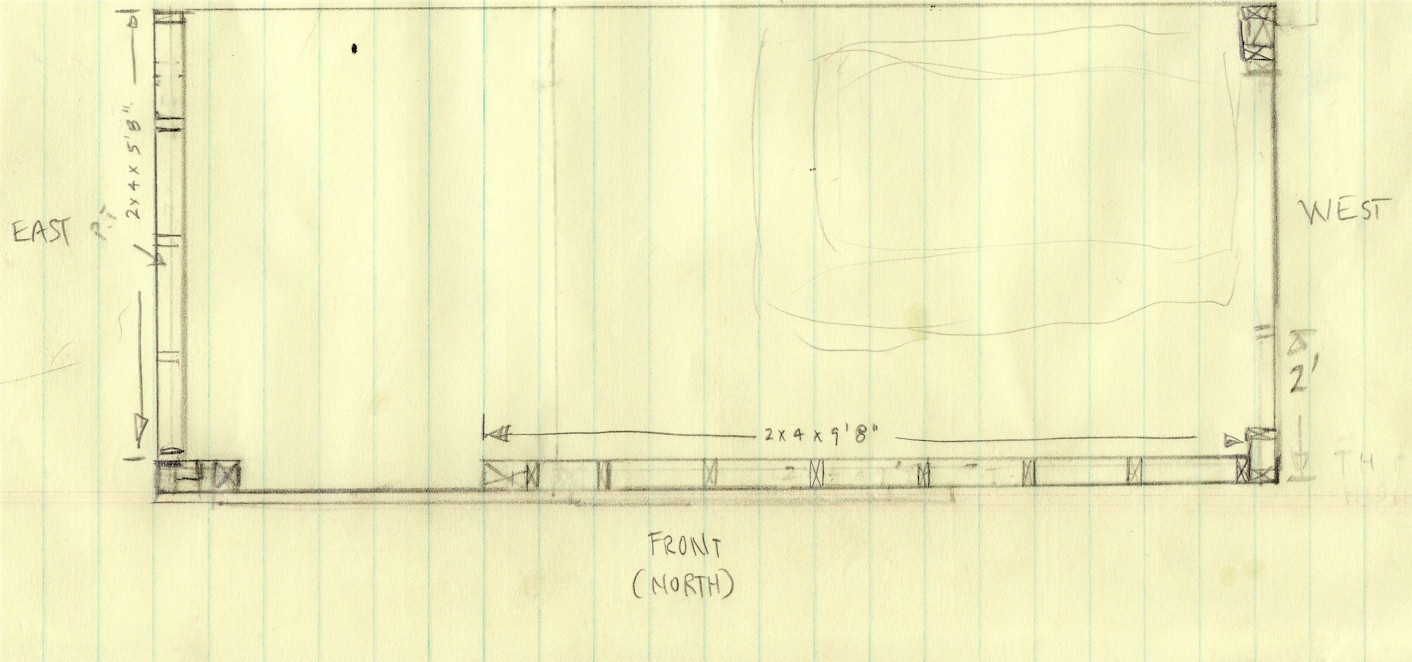
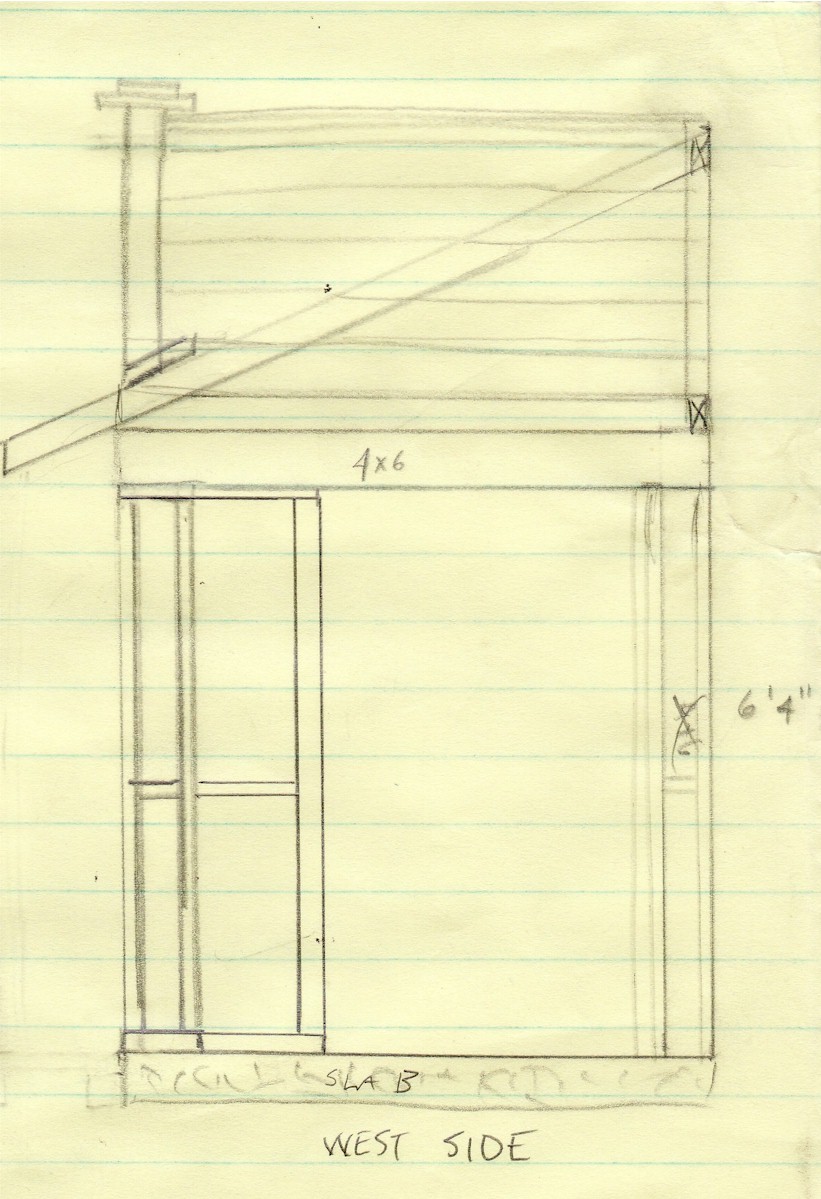
On Sunday I spent time drawing up plans for the shed.
 |
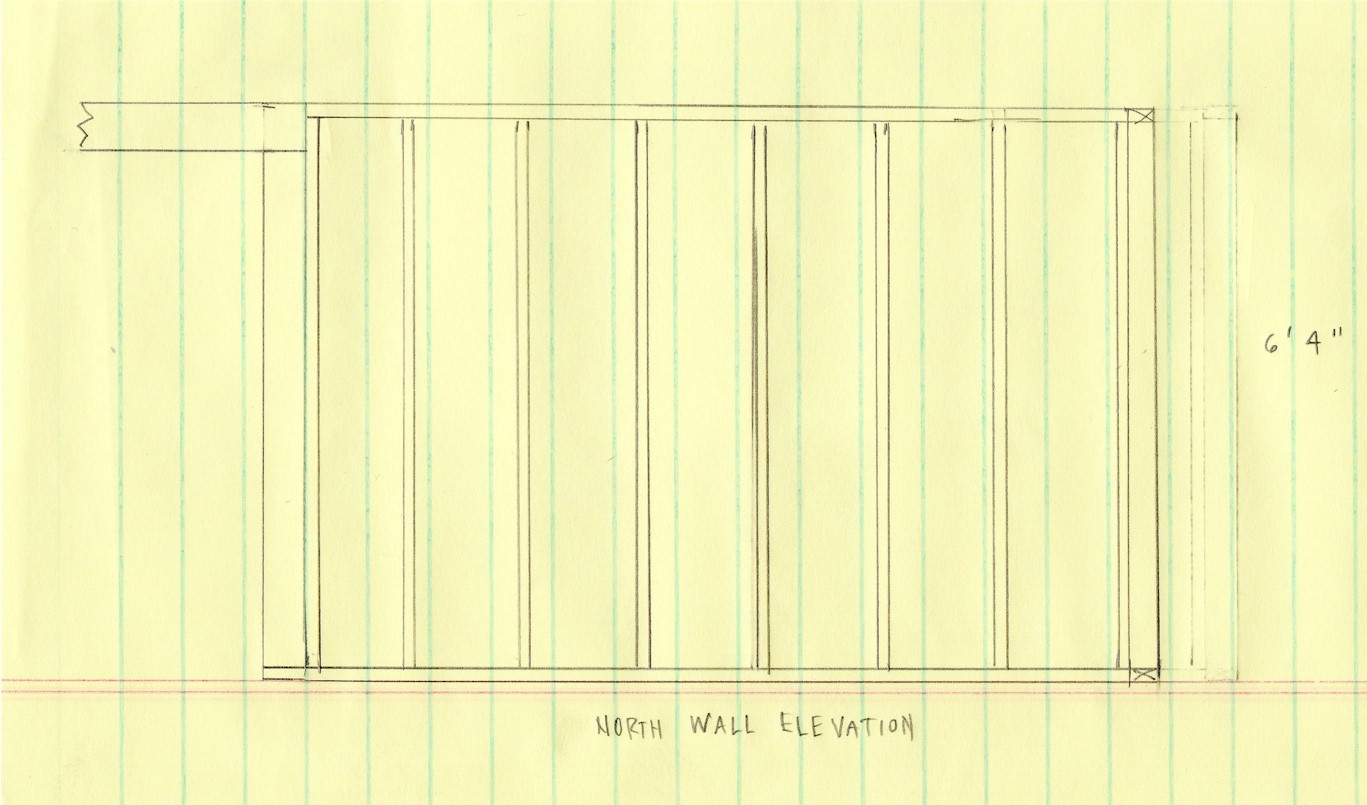 |
| Floor Plan | North Wall Elevation |
 |
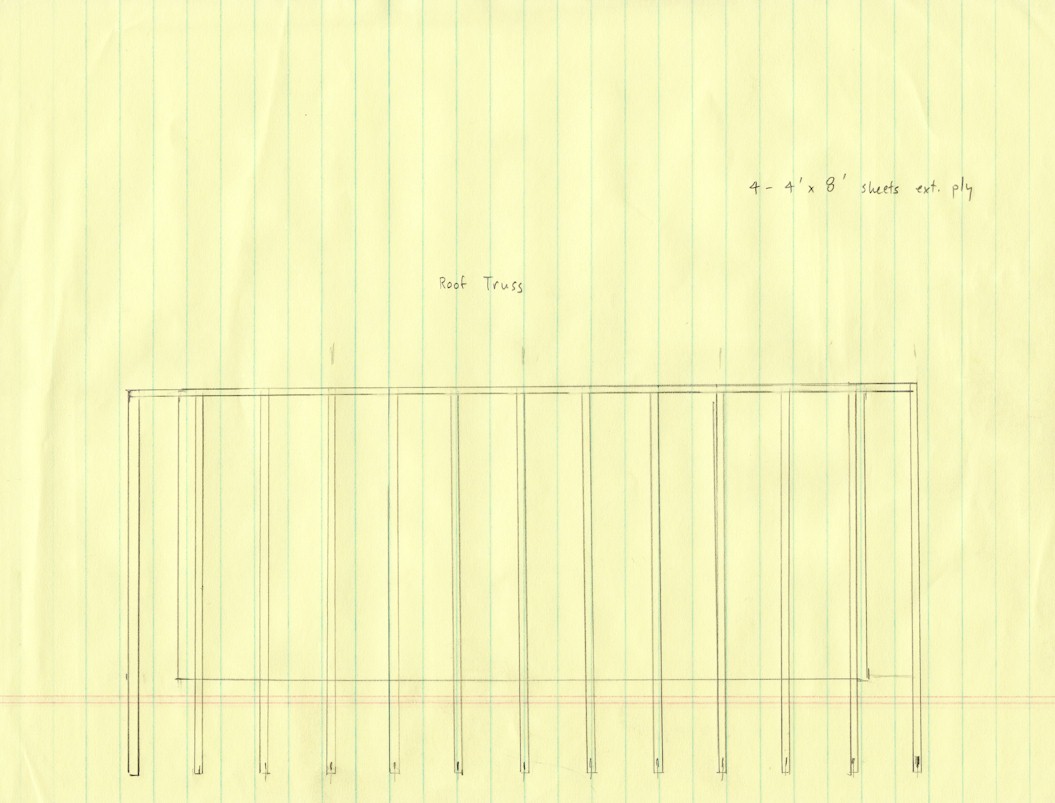 |
| West Wall Elevation | Roof Truss Layout |
September 25, 2006 - Scrounged around the farm for some 2 x 4s and then got set up to work. Only had enough to get a little start on the thing and figure out what I needed to buy at the lumberyard tomorrow.
September 27, 2006 - John and I did get to the lumberyard yesterday and got the 2 x 4s we needed but I spent the whole outside portion of my day washing fermented tomato seeds.
Today I only got a couple of hours of daylight and was dragging my behind to boot so all I got done was framing up the walls.
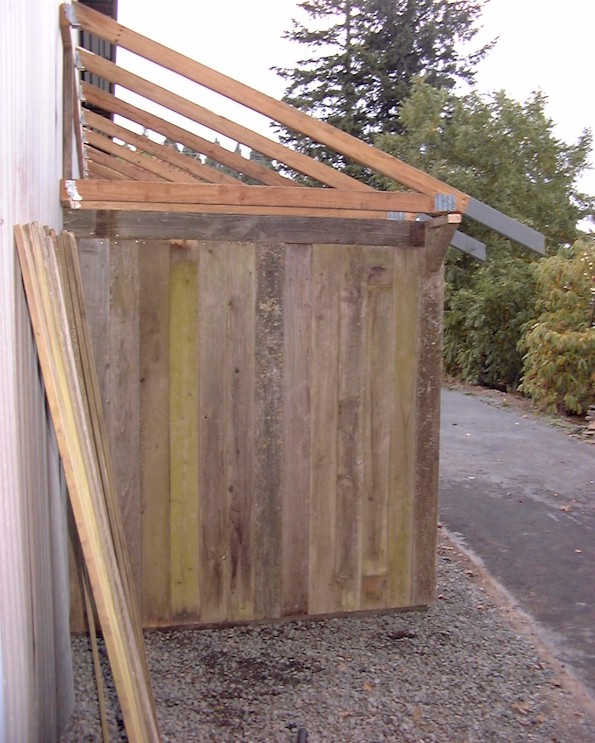
October 5, 2006 - I bought a couple of 16 foot 2 x 4s this morning and got them hung and a couple of the trusses installed. But, I ran out of daylight.
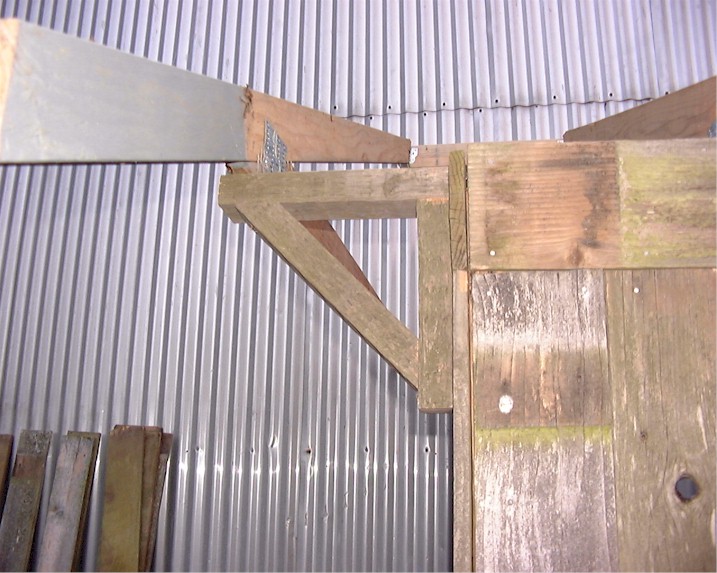
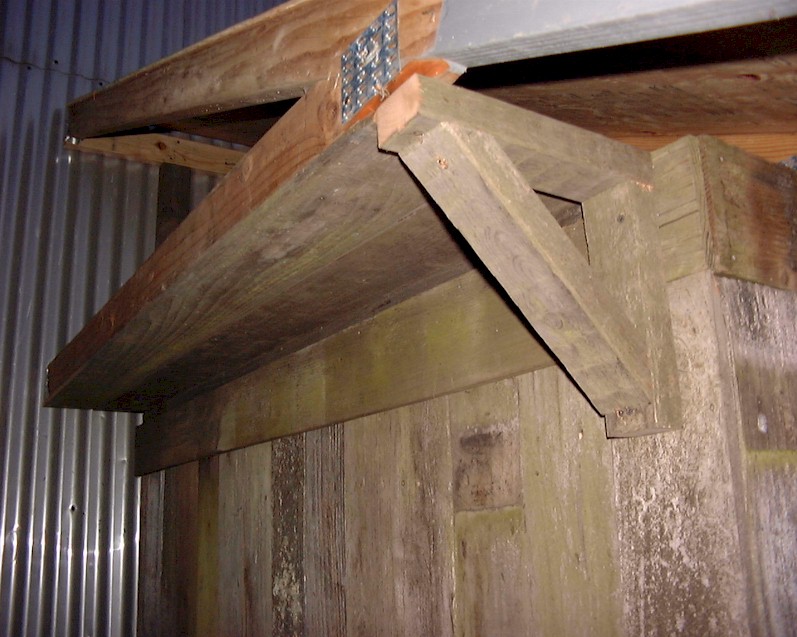
October 6, 2006 - I got all but one of the trusses trimmed and installed. The last two being the hardest to install because they are floating as the overhangs on both ends of the shed.
I solved this by creating a brace. I could not install the brace and the truss until the siding was installed. So, I cut and installed blocking, installed boards, installed the brace and the truss. But then ran out of time. One more to got on the other end. Hopefully tomorrow.
 |
 |
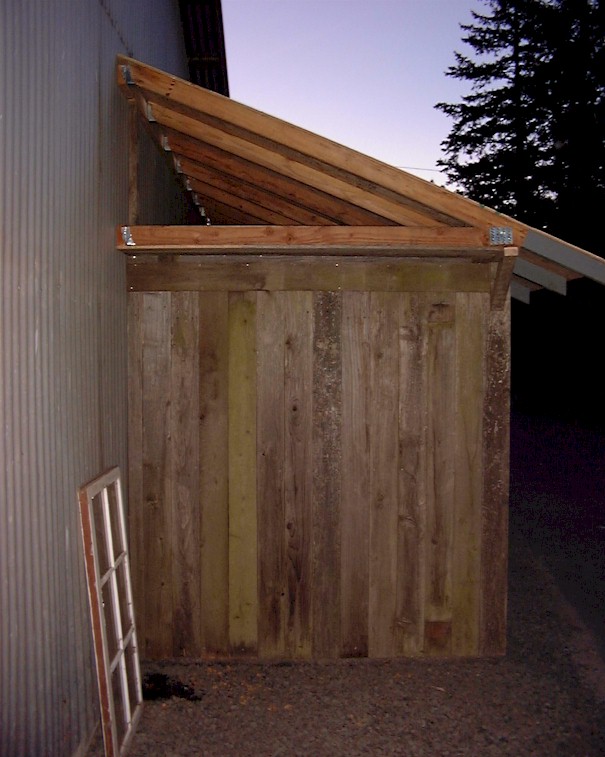
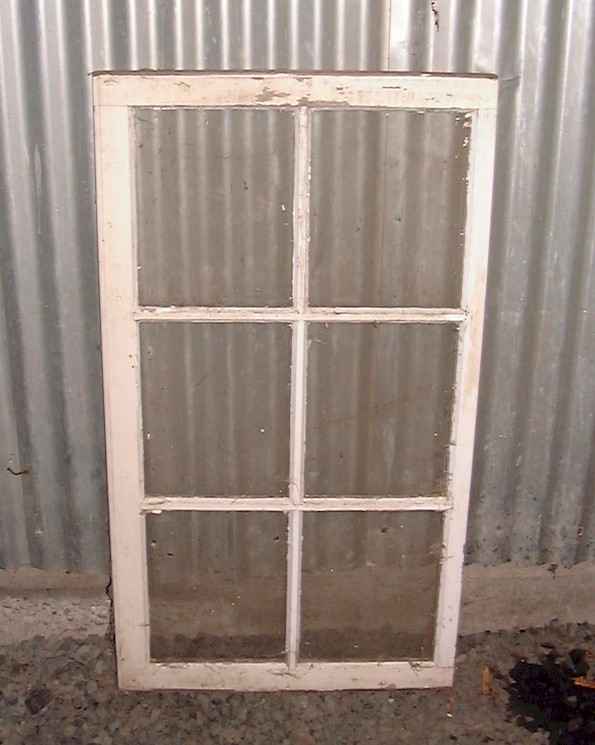
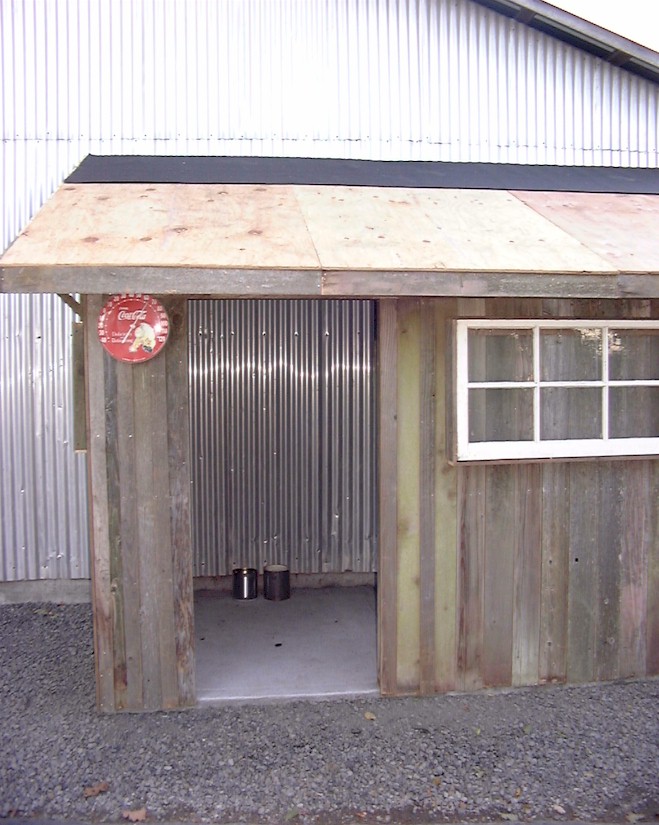
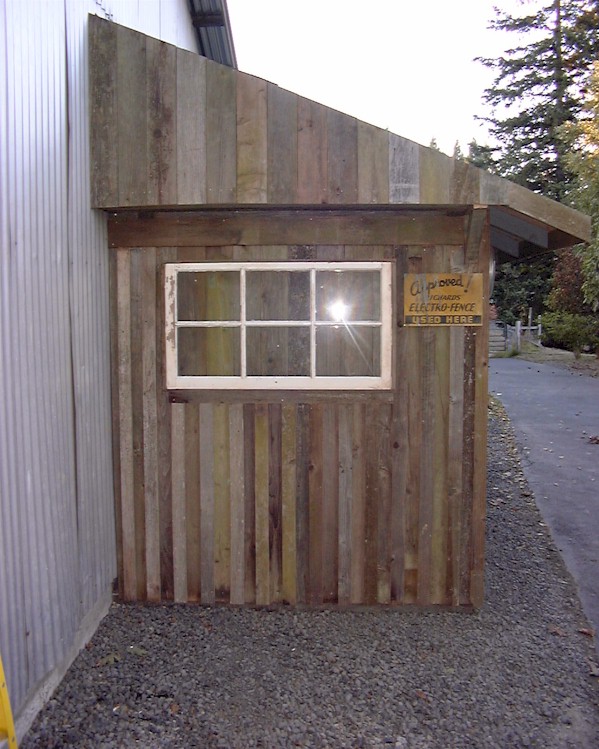
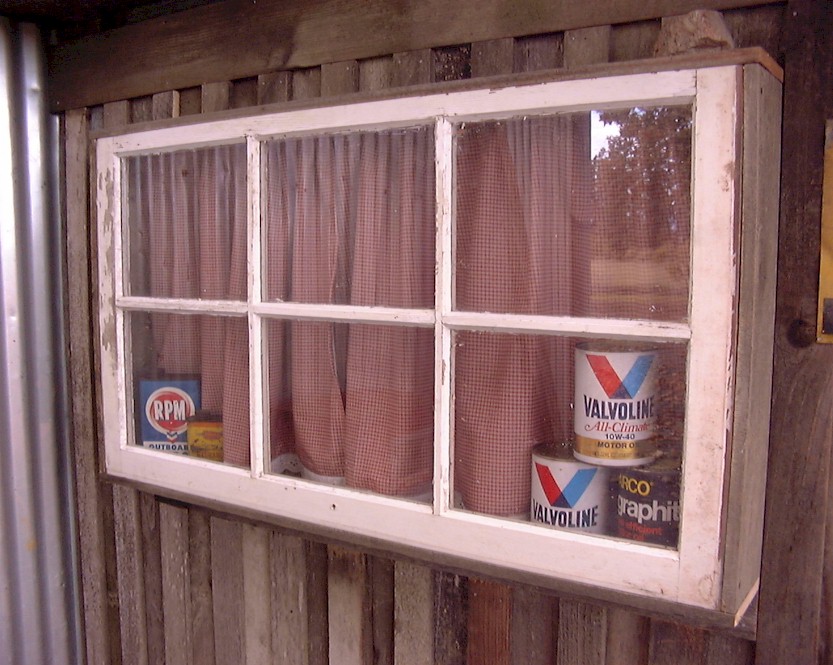
October 7, 2006 - Got a lot done today, all trusses up, installed blocking in the walls, got the siding installed, boxed in the east wall's soffit, and then, before I lost daylight, threw the plywood roof sheathing up and tacked it into place. The last picture in the series is of one of the old windows I am thinking of using to make a "fake" window or shadowbox.
 |
 |
 |
 |
October 9, 2006 - I got all set up to work yesterday, got the plywood all nailed, and it started to pour. So John and I hurried, tarped it up, and put everything away. Today was a postal holiday so I got a good five hours of work in. Most of the day was spent making, cutting and installing bats and miscellaneous trim pieces. I also got the window boxes built. They are constructed so that I can loosen a couple of screws, take them off and change the items in them on display. Curtains will be in the back so you cannot see the wall and it will just look like the store is closed.
 |
 |
 |
 |
 |
 |
October 16, 2006 - The weather has been changing (for the worse) so harvest and winter prep tasks has taken priority. But I have tried to fit in 30 minutes here and an hour there.
I modified my plan again. I was going to use the old wood front fence gate as the door to the shed as it was already made and I could make it work. I had it propped up in place to see what it would look like and since I am winding down on the construction, I just want to get this done and move on to the next task. So my standards were slipping.
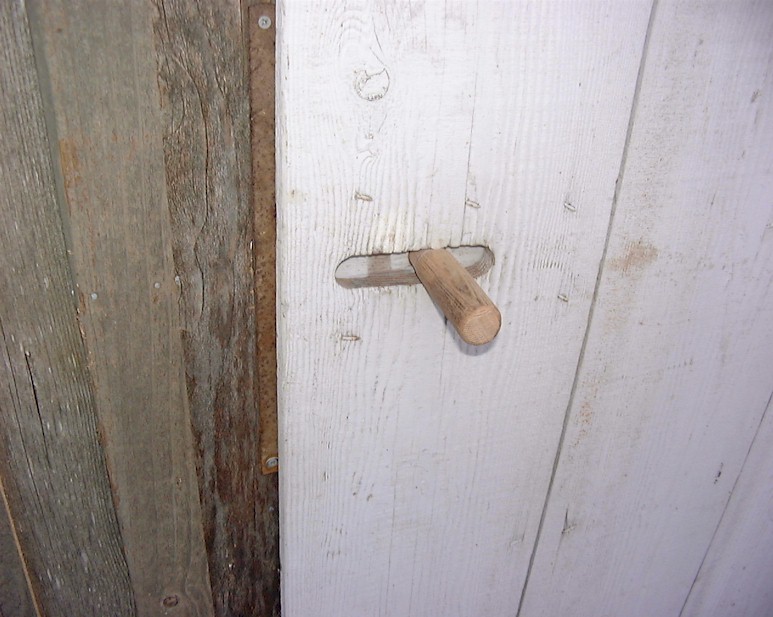
John called me on it and said it didn't look right. He remembered, about the same time as I did, that we still had the door to the old chicken coop which we did not use when we reconstructed the coop. I dug it out of the back of the machine shed and it was perfect! I mean it was weird that it fit the opening. I had to trim the length, but the width was perfect. I had to install some more trim, around the opening, and build a latch for the sliding wood latch.
 This was the door to the old (ca. 1940s) chicken coop. Only had to modify the height. |
 Got this door (the old shed door) hung on Saturday - 10/14. |
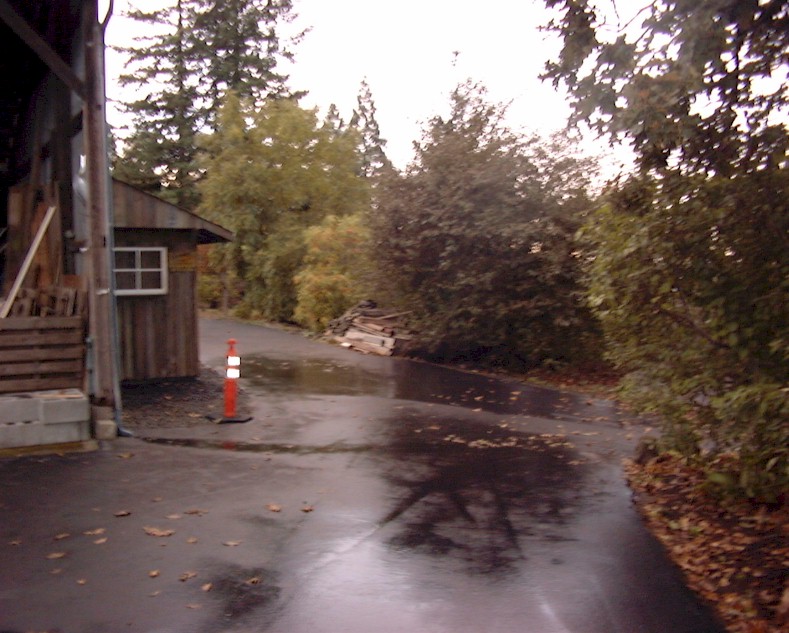 This is a view showing the tightness of the turn. I will be cutting back the tree, moving the piles of stuff and widening the turn. |
 The door locking mechanism from the outside of the door. |
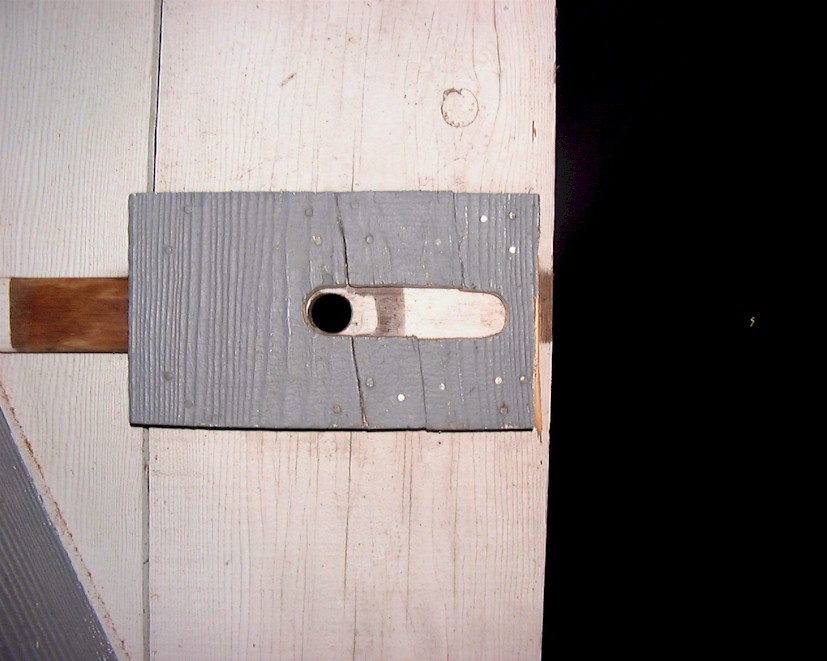 The inside of the lock. |
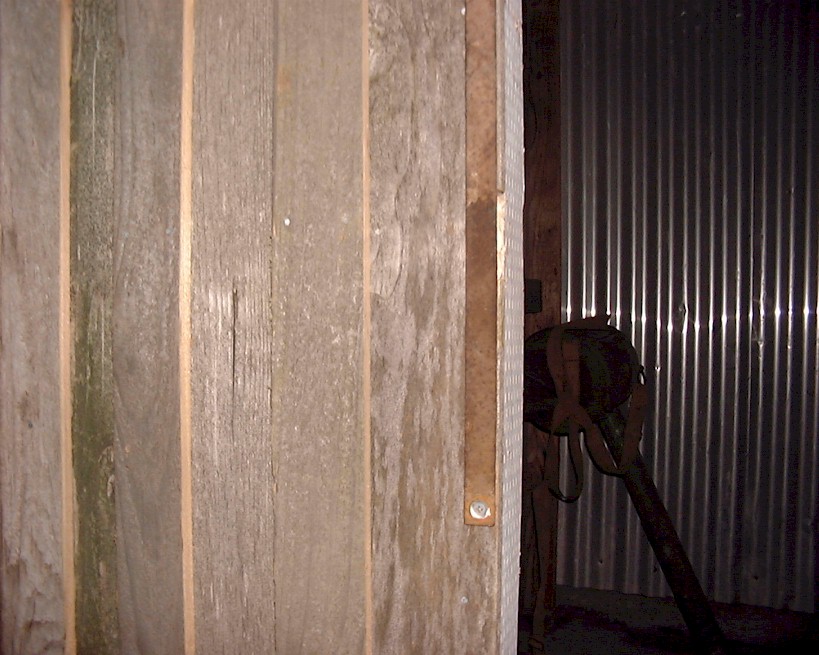 Old piece of iron used for the strike or latch. |
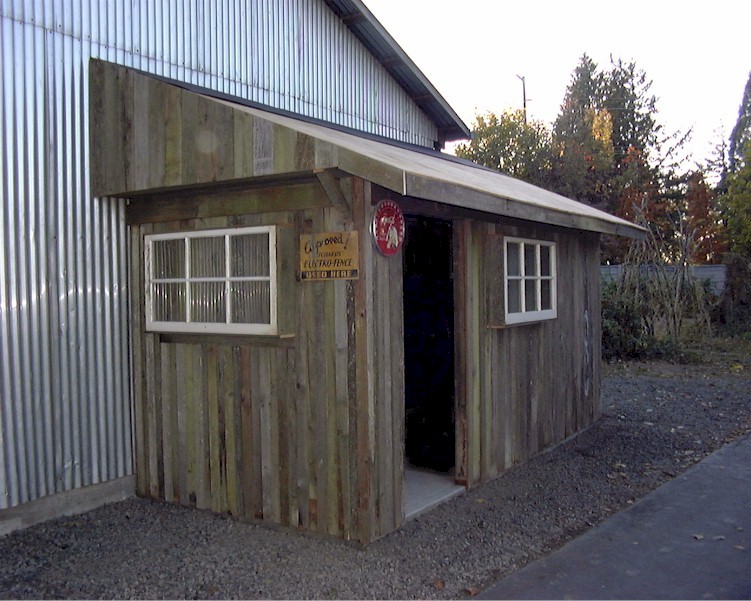
October 17-19, 2006 - Have only been able to sneak a few minutes in here and there. I did get old corrugated installed on the roof. Mainly for looks. I need to get back up there this next week when it is dry and caulk the holes.
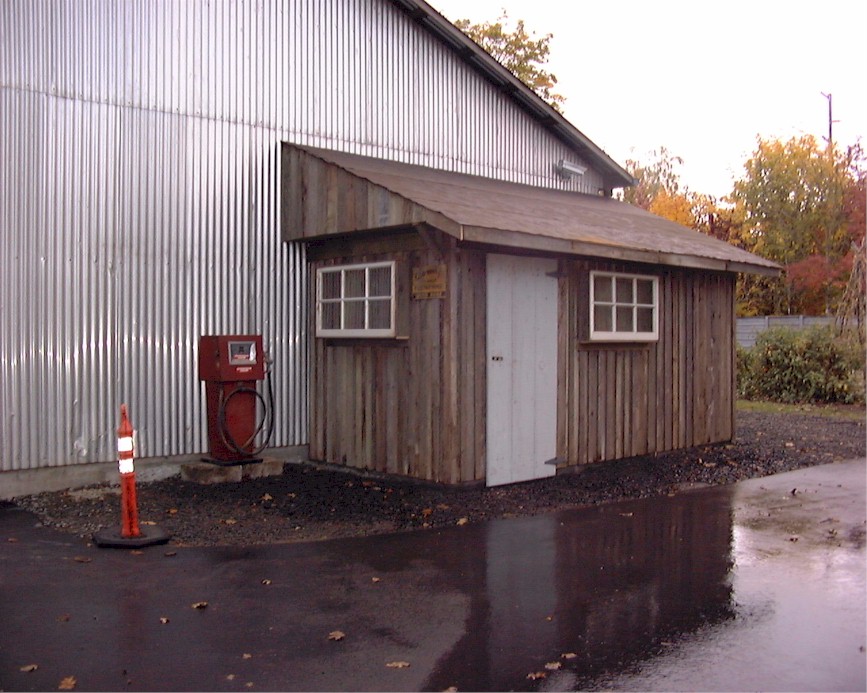
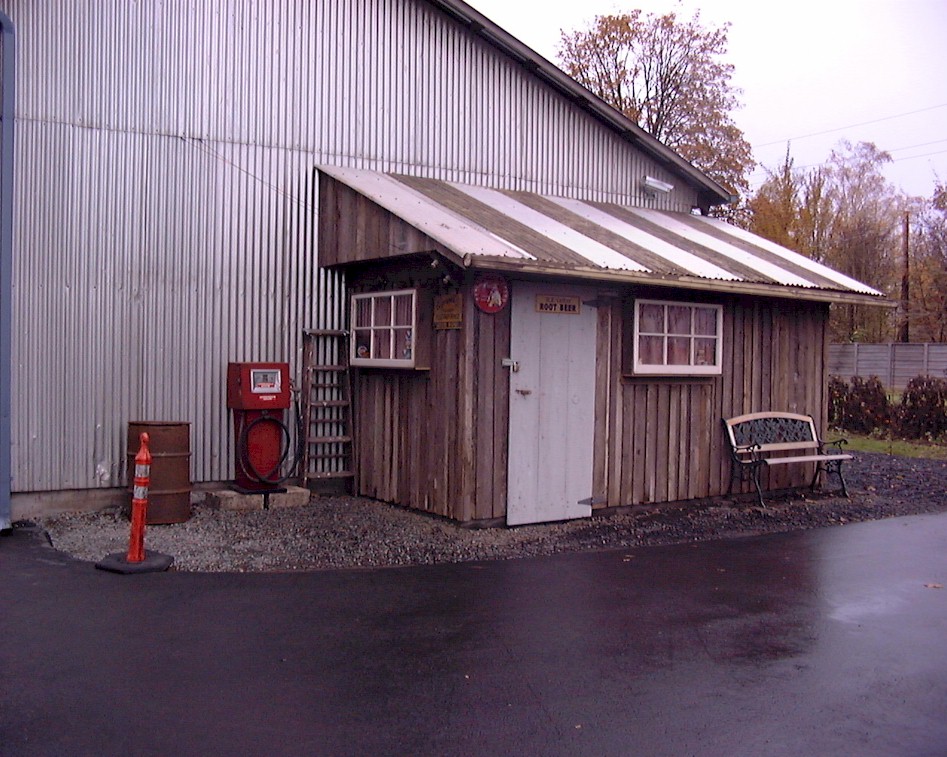
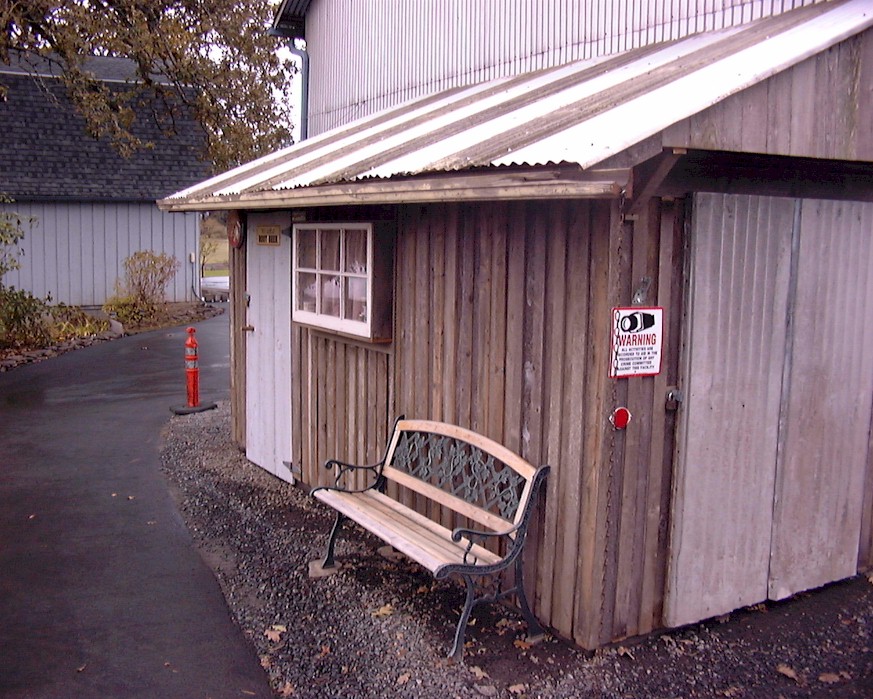
I got a few signs posted - installed the security camera and warning sign. Going off the old store picture from around Bon Aqua, Tennessee that my friend David sent me (see above), I set an old gas pump we had [just a prop for looks], added a bench under the eaves next to the front "window" and hung a bottle opener from a chain. Also rasped, filed, and sanded a chunk of an old shovel handle into a door latch handle.
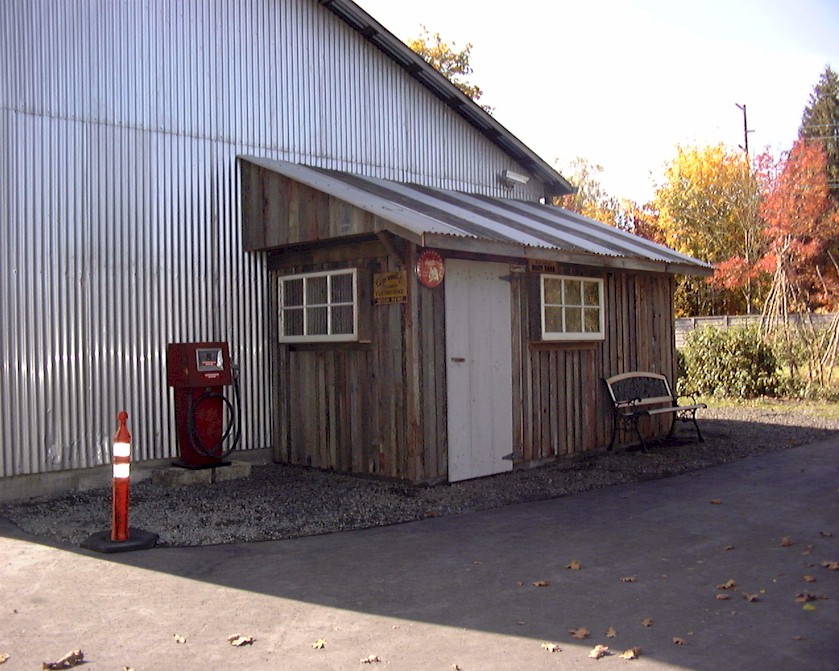 East End |
 Bottle opener always handy. |
 West End |
 Close-up of hickory latch handle. |
 Closer view of east end. |
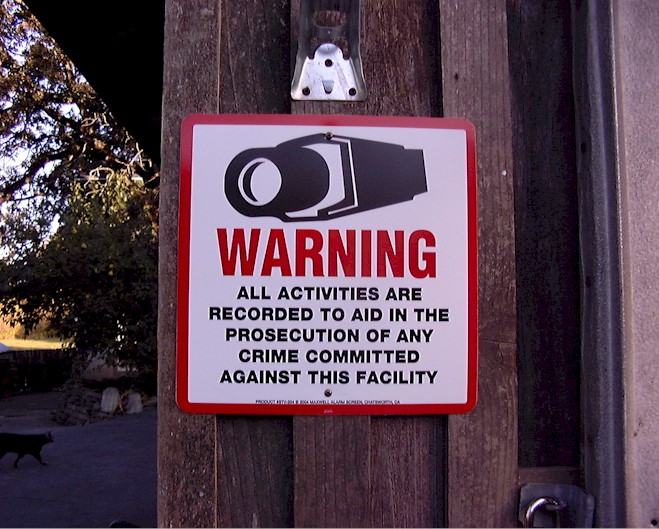 Notice sign (got for free :) But we do have cameras around the farm monitoring and recording. |
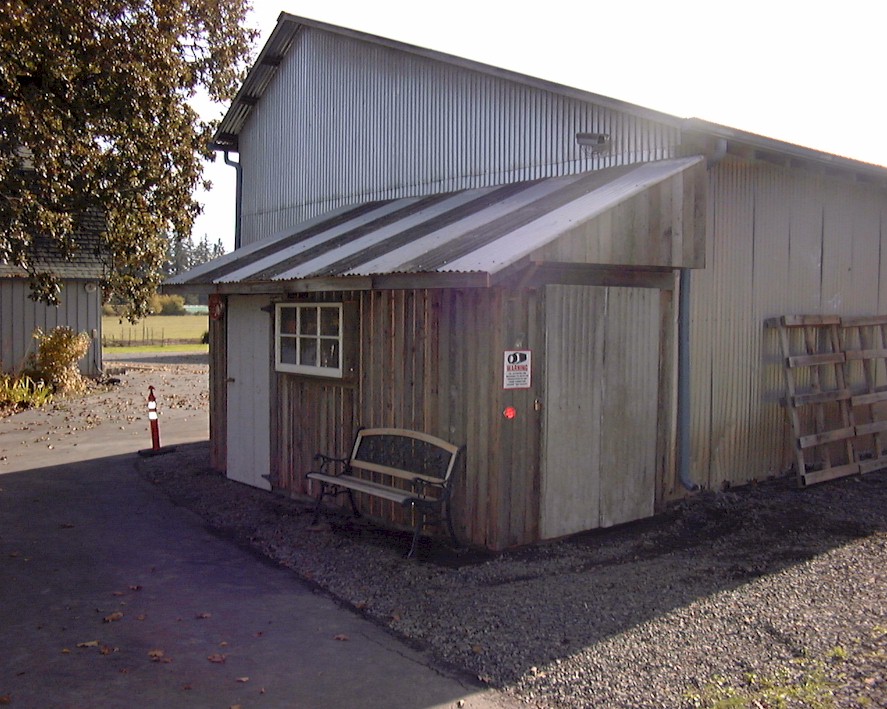
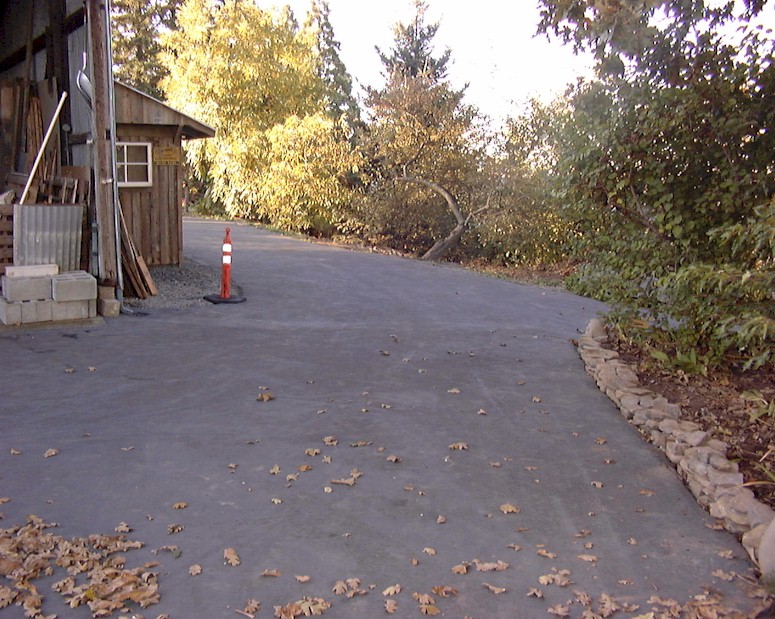
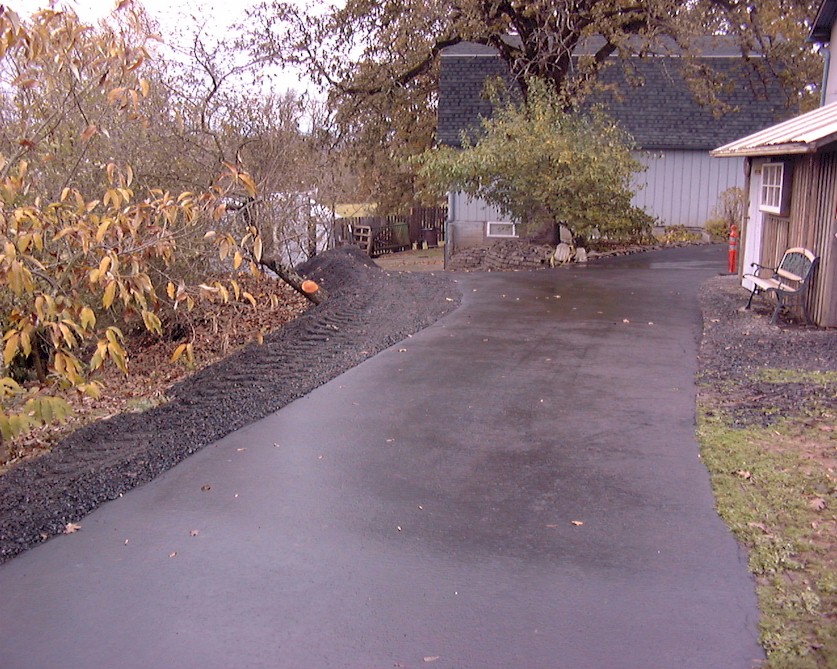
October 20, 2006 - This afternoon we focused on widening the radius of the driveway at the shed. It was tight before and with the overhang of the new "store", it got scary-tight. So Dad cut back a bunch of a tree, we all moved the pile of junk lumber, as well as a pallet of rock. Some of the smaller pieces of rock were used to create the curb along the flower bed in the right of the first picture below. I will call my cousin this Monday and order another load of gravel. If he can get around there with his truck, we should be good to go.
 |
 |
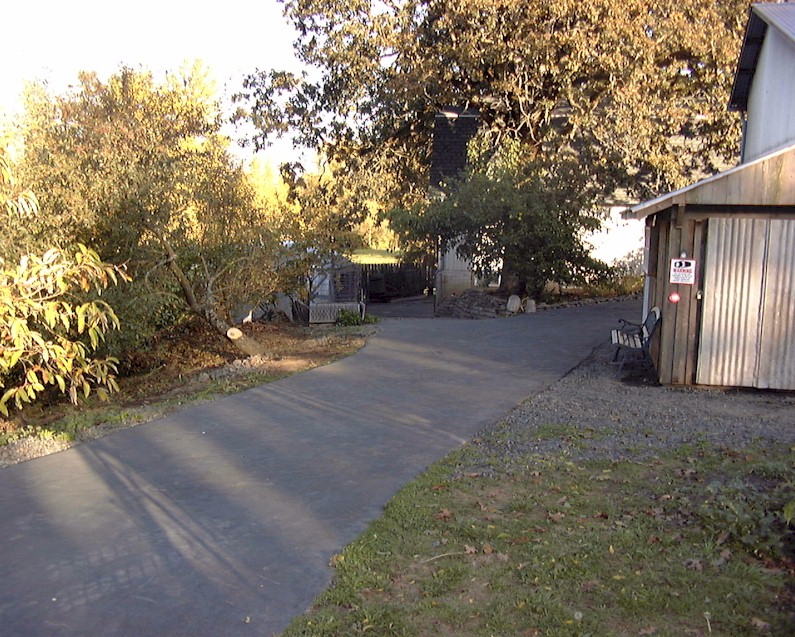 |
| Refer to this picture from a few days back for a comparison. | Another angle of the area. The area on the right that looks like dirt will be graveled and used as a better turn radius for larger trucks. | Yet another view. Area is on the left. |
October 29, 2006 - Got a few minutes in the past week to work on the building.
 |
 |
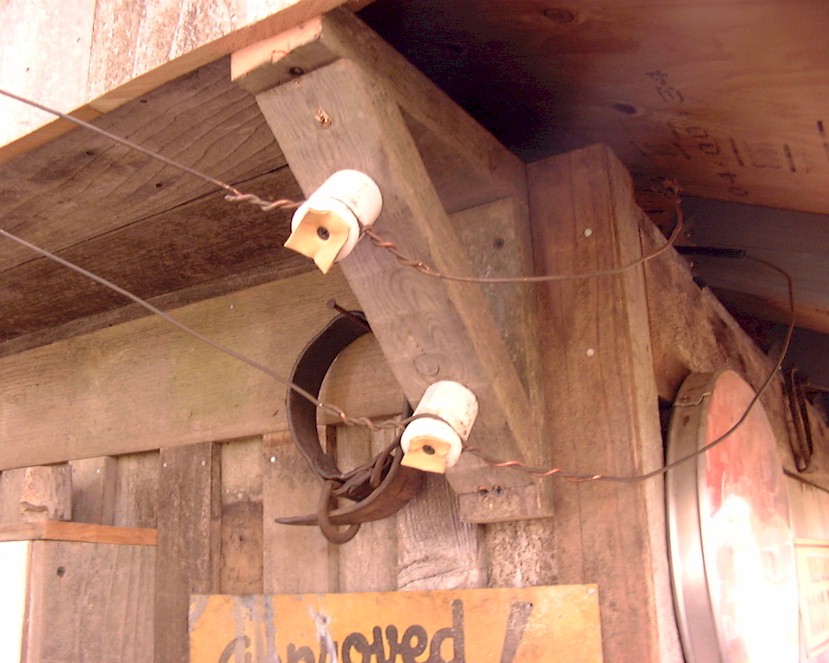 |
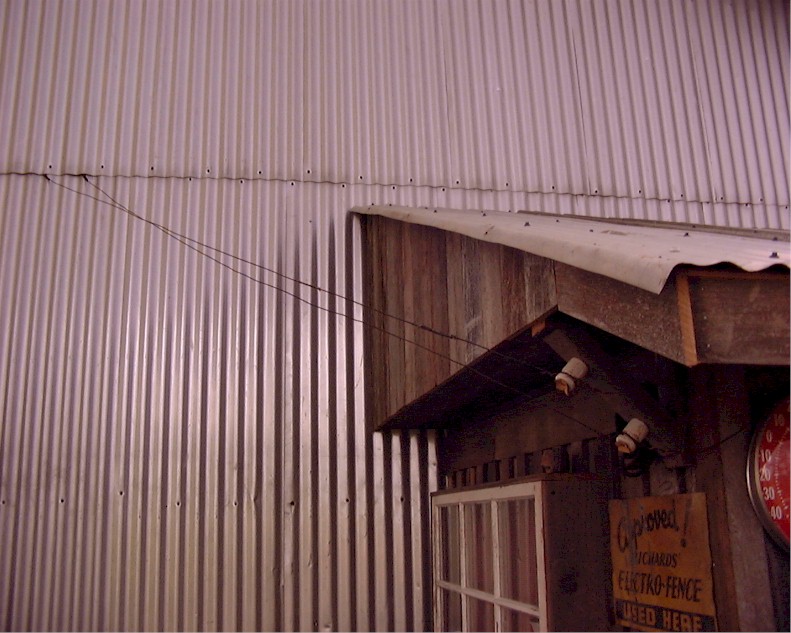
| The "windows" are used to add realism to the structure. Mom made curtains to camouflage the fact that the windows do not open and hide the wall. | Another touch that makes the building look old. These "power lines" are purely for looks. This is the old wire that I saved when I put the power lines to the barn underground. | Close-up look at the "wiring." Again, this is not functional wiring. It is purely for looks. |
November 4, 2006 - I got the load of gravel today and finally got the turn radius widened. Hopefully enough so that trucks can get out without tearing down the shed.
 |
 |
 |
| Got a load of gravel to widen the edge of the drive. Used the tractor to do the heavy lifting but did the finish grading with a shovel. |
Another view of the widening work. |
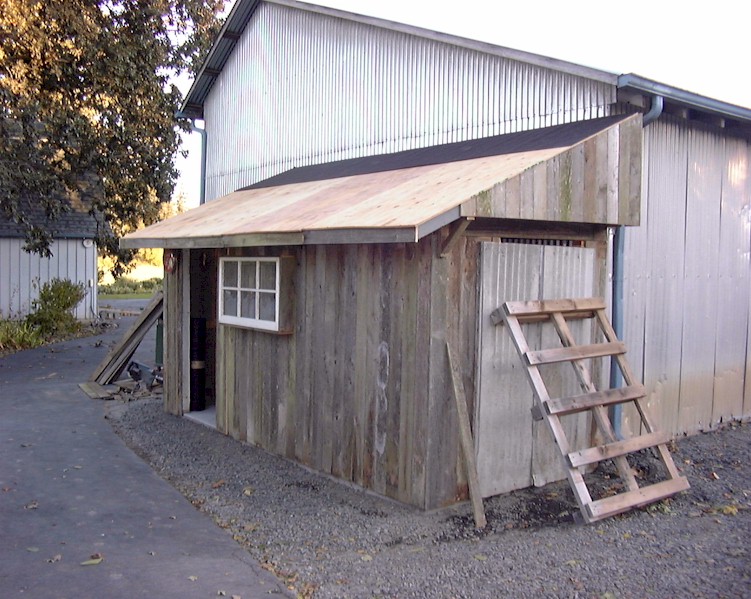
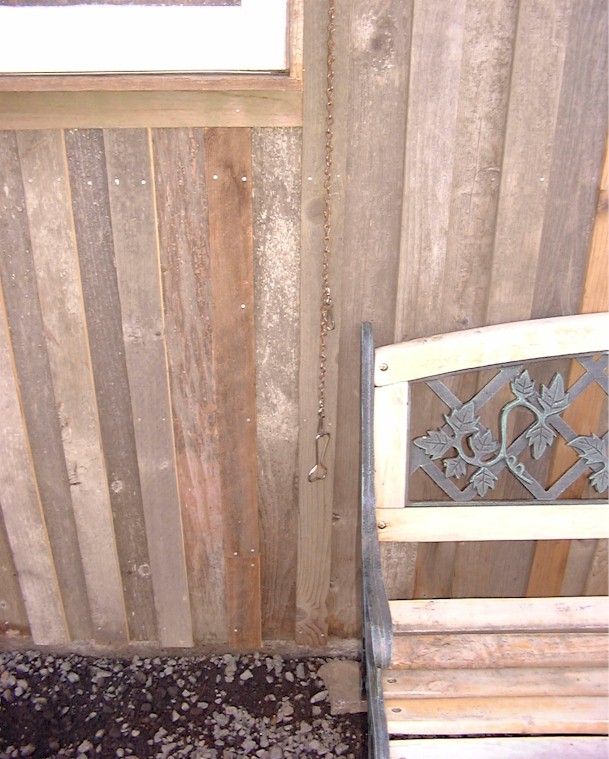
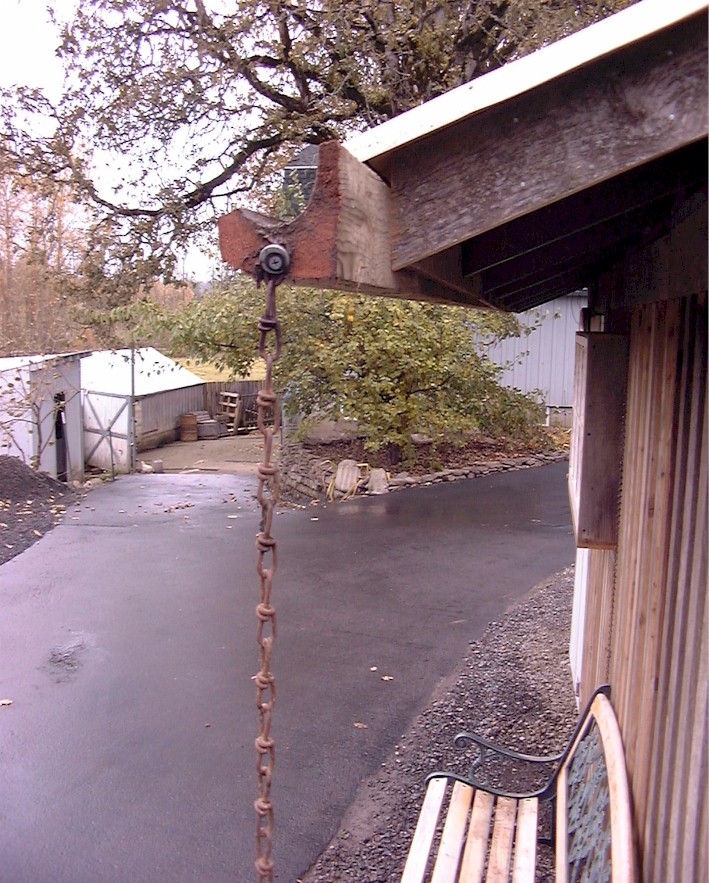
Little odds and ends done on and around the shed. Installed a chunk of old wood gutter that I had been saving from when I had metal gutters put on the barn about 10 years ago. |
 |
 |
|
| The gutter took care of the water run-off from the roof splashing on the wall but as it ran out the end, it splashed. | So at Dad's suggestion, I found an old chunk of chain that I had literally dug up here, and that fixed the problem. |