|
This
is one of those important projects that took a long
time to reach the top of the project list. It
is too inconvenient to be working in the barnyard or
fields and run up to the house whenever the
situation arises. Additionally, we were just
not set up to accommodate visitors. Our goal
is to eventually open the farm to the public and now
we have a toilet facility.
We had this project listed on
the
Victory Seed Web site
in 2004 as a future need. A
gentleman up in Washington, Larry Warnberg,
responded by supplying us with drawn plans for two
composting toilet designs he had engineered and put
into use. Included in the package he sent were
instructions and actual
observations he had documented while operating one. He also
generously donated a copy of the poop bible, "The
Humanure Handbook."
Although he sold copies of his plans, he retired and
moved on. If you are interested in building and
experimenting with one of these alternatives to
flushing, along with the information presented here,
you can also reference an archived copy of his web
site by
clicking here.
It is a great idea for an environmentally sound way
of eliminating waste.
My
goal was to use Mr. Warnberg's design ideas
but build the facility as inexpensively and with as much recycled
(scrounged) materials as possible. This meant that
improvisation and adaptation were required
throughout the project.
Additionally, this project was intended to expose
John to basic building skills. Although I
performed most of the work, I made sure to explain
all of the steps, solicited his input for ideas,
made sure he understood the various steps, and
actually had him do hands-on work. The
following is written in journal format as the
project progressed.
|
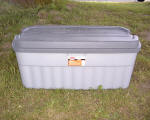
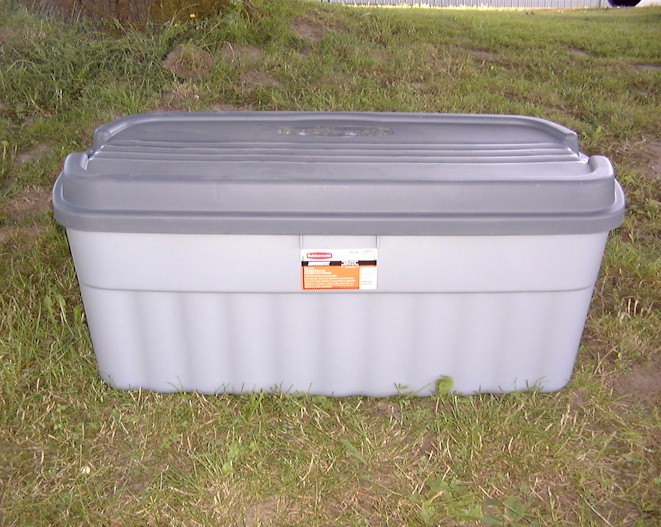
This was the initial purchase. It is a
54 gallon (204 liter) Rubbermaid tote and cost $16.97 at
the Home Depot. The design hinges on the size
of the chamber you will use. We plan on
using two such bins in rotation. |

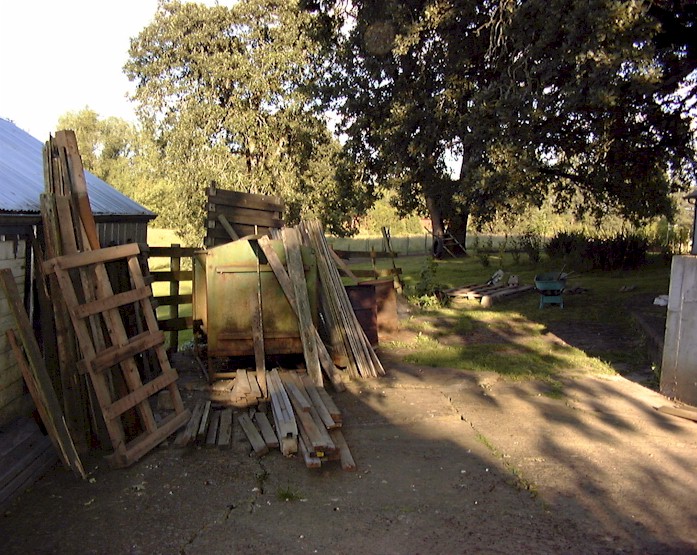
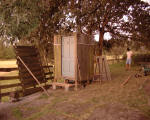
This is part of our scrap lumber pile. The main source was cedar boards from the old
yard fence and pallets from the concrete fence
shipment. |
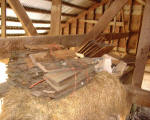
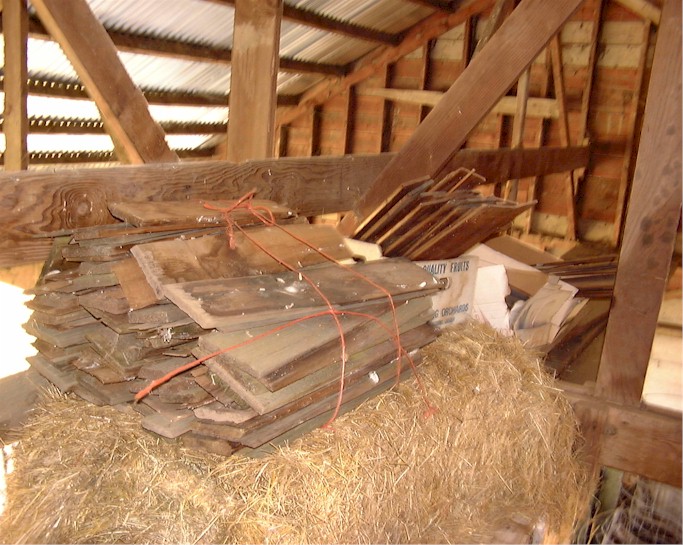
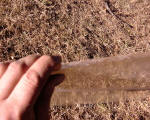
Salvaged
shakes.
(NOTE: Did not end up using them in this
project.) |
|

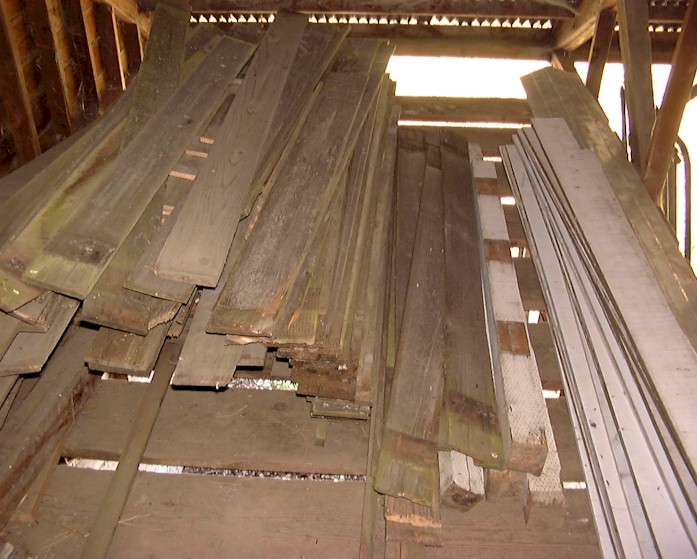
More of
the lumber pile. Mainly 6 foot cedar
fence boards. |
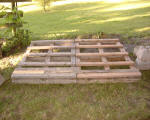
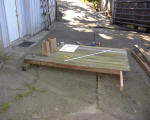
Two of the pallets positioned roughly in
place. |
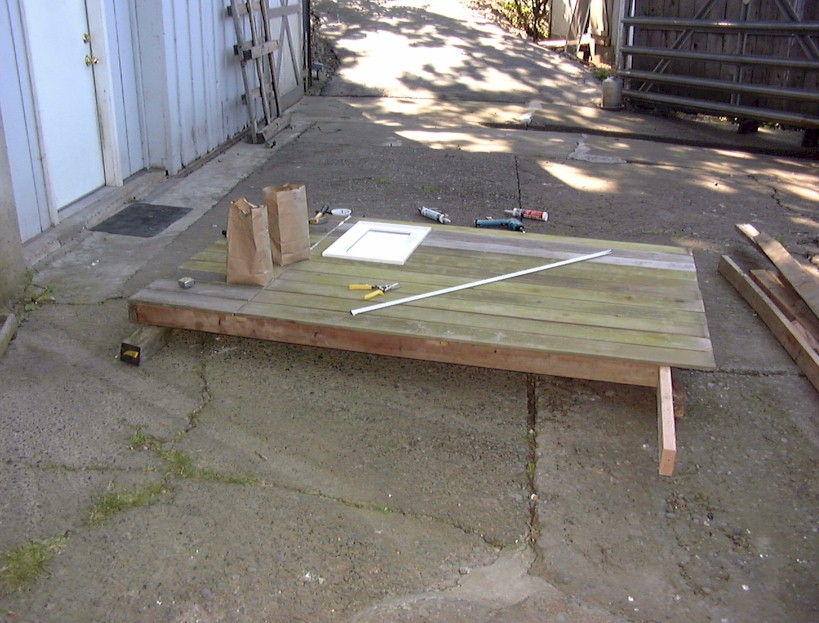
Working on the
floor and foundation. |
Working on the
floor and foundation. |
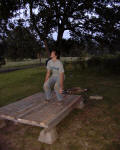
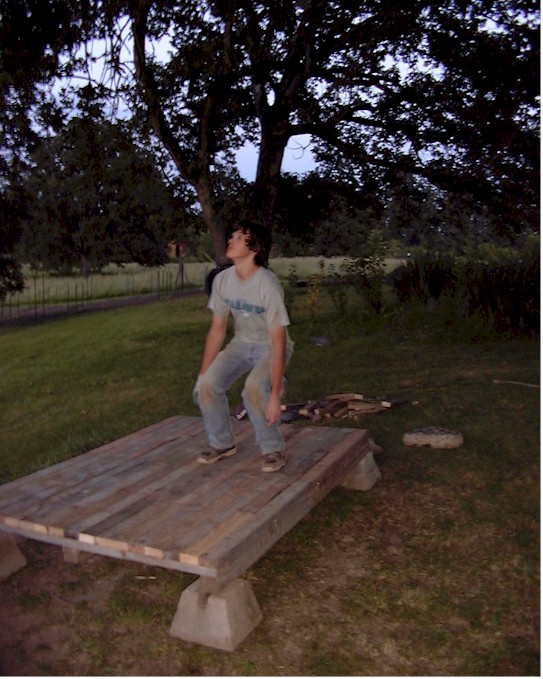
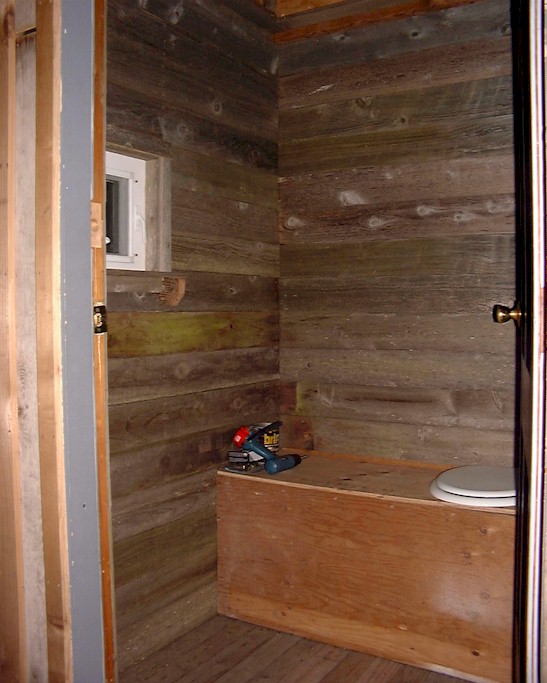
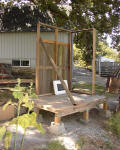
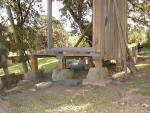
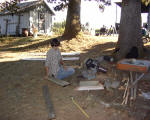
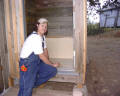
Sub-floor done and rough leveling completed.
John modeling the approximate location of the
the bench. |
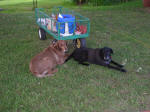
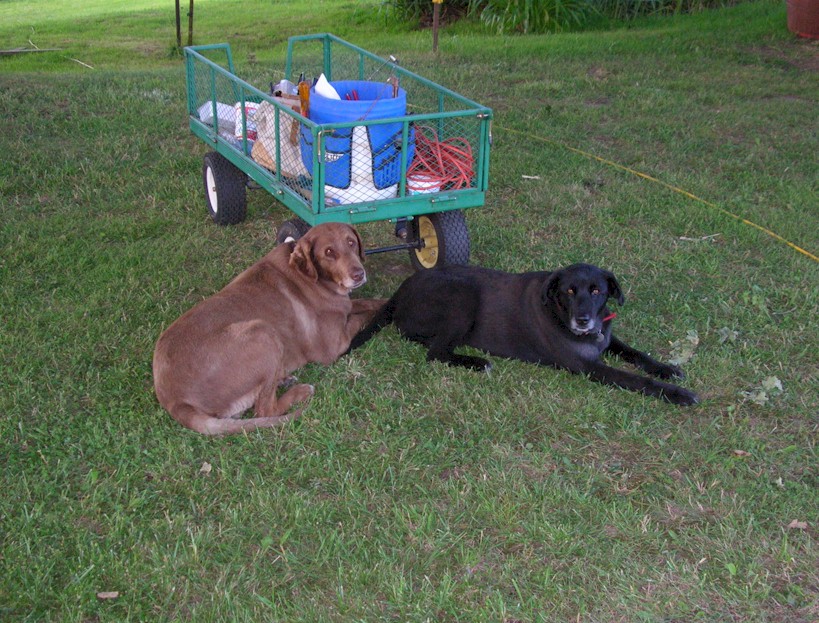
Guarding our
tool cart :) |
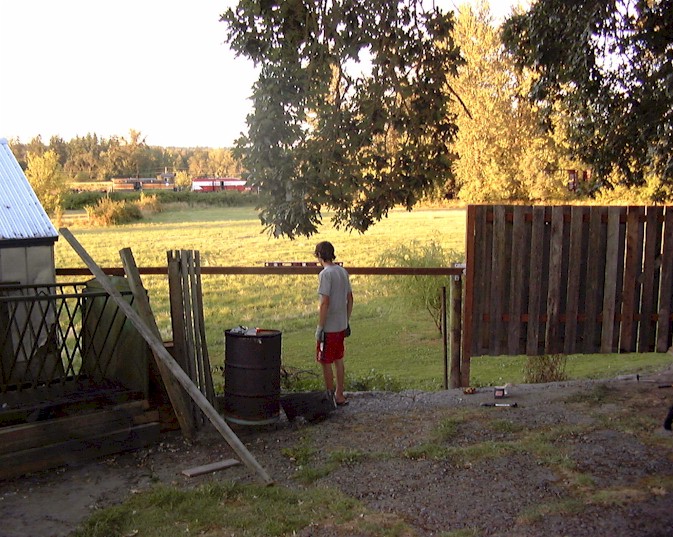
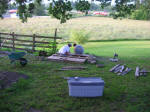
6/19/2006 -
The first day of work we got the site cleared, the
main platform built, and it situated roughly in
position.
6/20/06 - We did
not get much time at all to dedicate to the project
today. More pressing business and farming tasks required our
attention. We did get the platform situated in its
final location, leveled ground for pier blocks and
started the process of leveling the floor itself. We worked until
after dark.
John was gone the next
two days and then we were off to California for five
days. Pressure to get this facility completed
by Independence Day are building.
6/27/06 - I
was pretty sure that we had worked on this project
since last week but we have not.
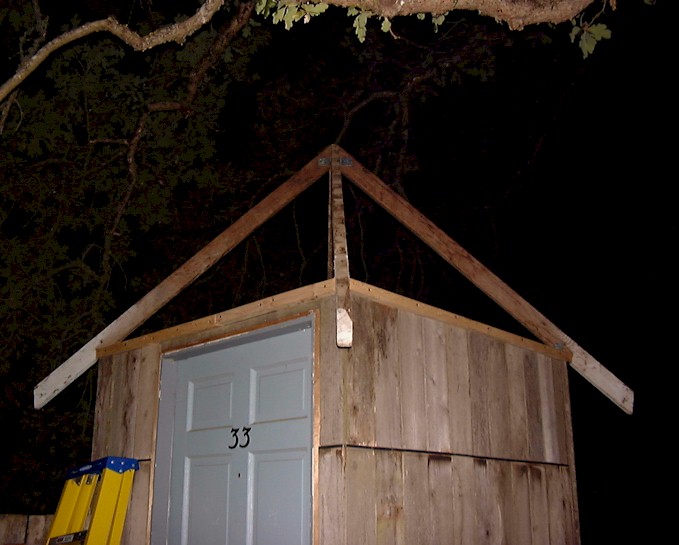
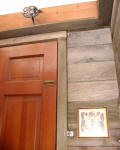
 John
and I determined the outhouse's name today -
"Building 33." That will be our code for
heading to the outhouse. Where this comes from is
the door. The door was salvaged from an
apartment complex remodel project many years ago and
it happened to be from unit 33. That is the
number on it. John said we should renumber it #2. John
and I determined the outhouse's name today -
"Building 33." That will be our code for
heading to the outhouse. Where this comes from is
the door. The door was salvaged from an
apartment complex remodel project many years ago and
it happened to be from unit 33. That is the
number on it. John said we should renumber it #2.
 Anyway, since we
are using salvage and scrap "stuff" to build this,
we are kind of designing and building this as we go.
It makes it a bit of a slow go but I think we
finally have it pretty well figured out and have
made some headway. Anyway, since we
are using salvage and scrap "stuff" to build this,
we are kind of designing and building this as we go.
It makes it a bit of a slow go but I think we
finally have it pretty well figured out and have
made some headway.
Today we started by
leveling, cutting and setting all of the posts onto
the pier blocks. That actually took a couple of
hours. Then we started scrounging through the
loafing barn, hay barn, and machine shed for 2 x 4s. Rounded up enough to start framing the walls. Got
the studs cut and notched for the north and south
walls and actually got the south wall erected and
tacked down. The north wall got framed but we ran
out of light. Left everything out so hoping to get
to it in the morning.
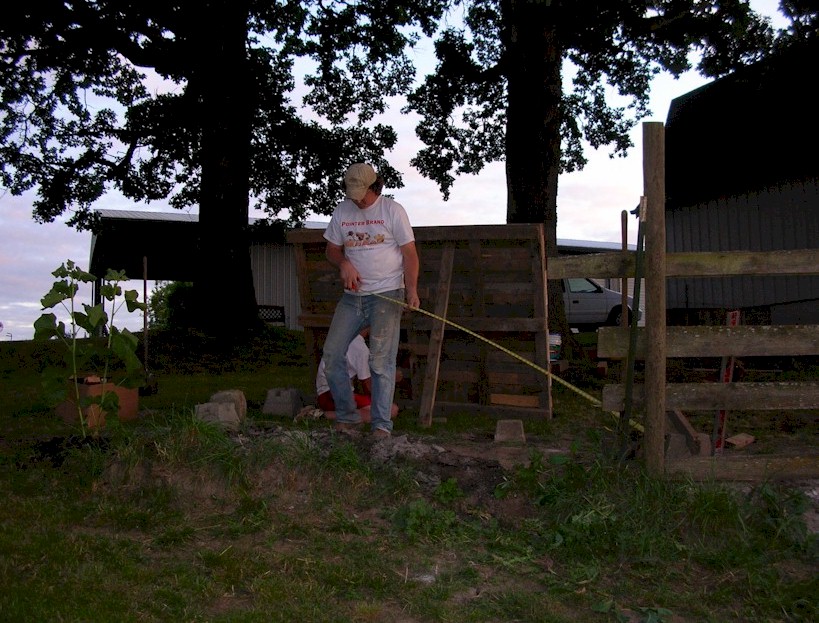
Close-up of the
foundation work. |
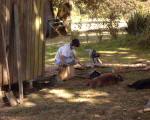
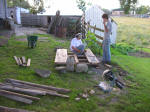
John cutting boards
to keep me going. Having a helper really makes
work like this easier. His dogs are never
too far from him. |
North wall
completed. Since we are using old 6' fence
boards, had to use Z-flashing. Dad ran to town for
me to get it and two bags of nails. |
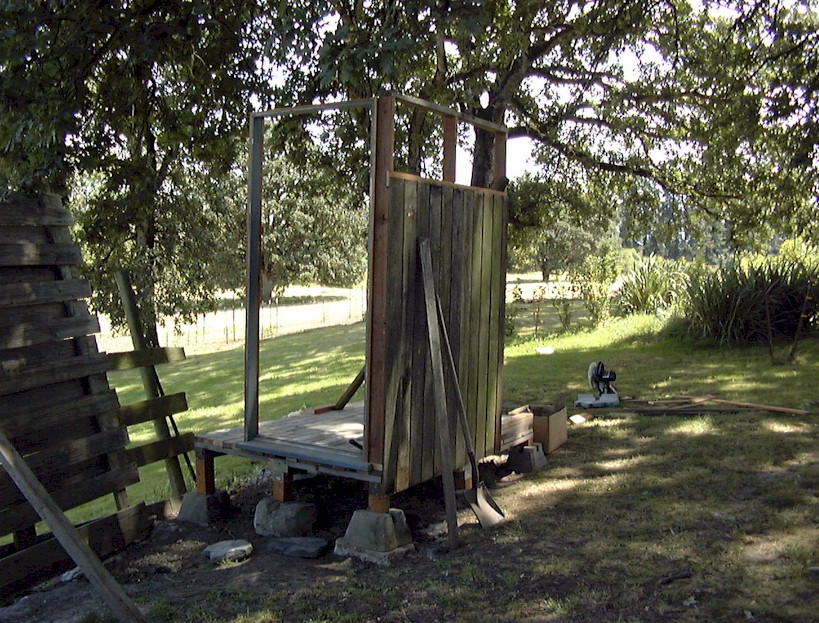
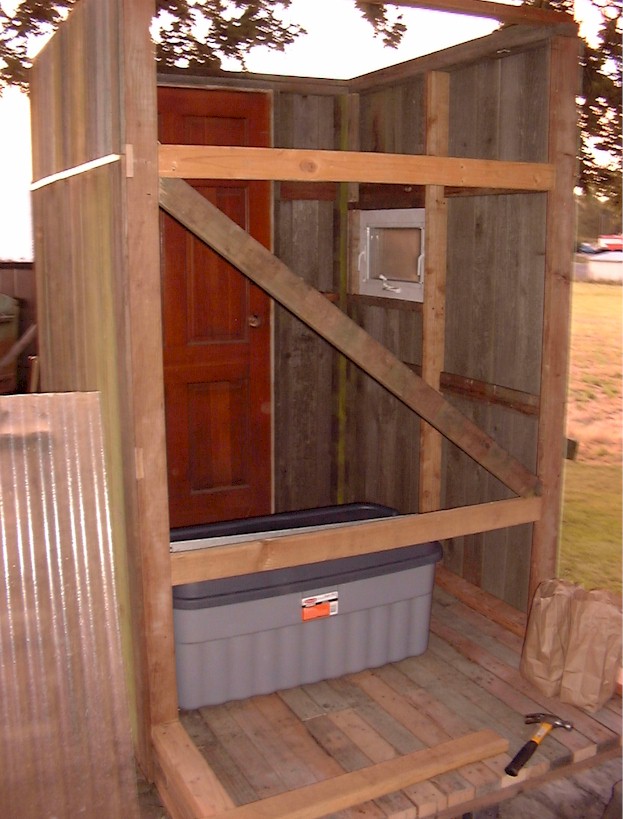
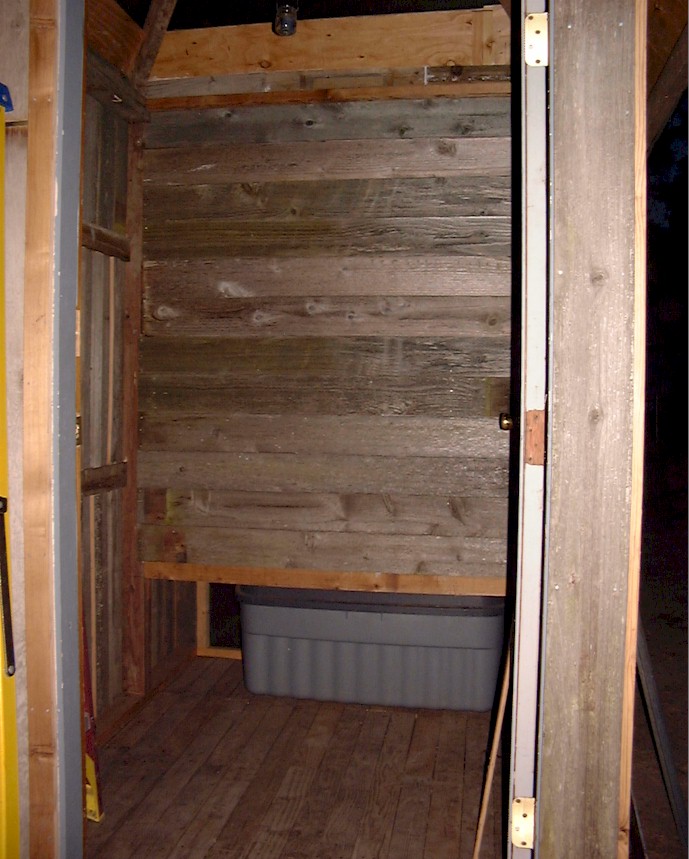
Back view looking
into the northwest corner. |
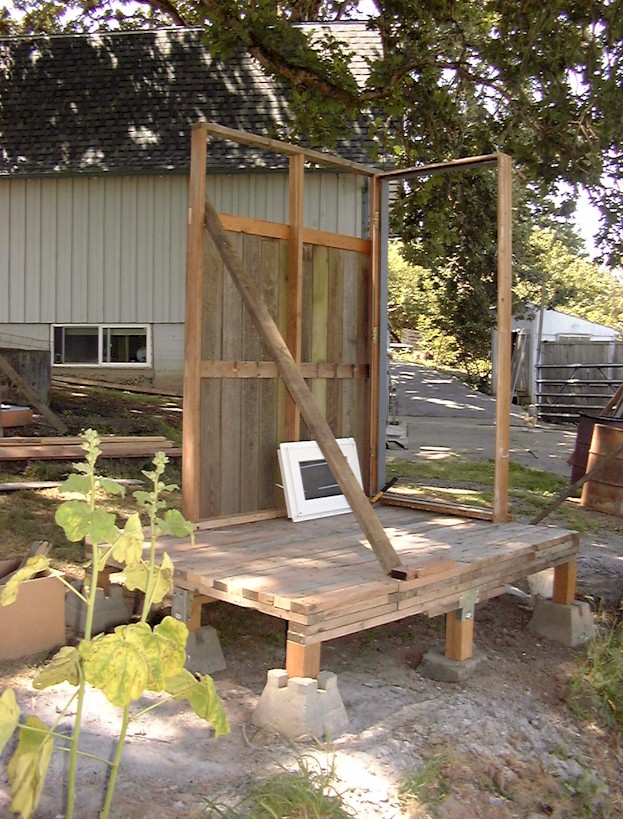
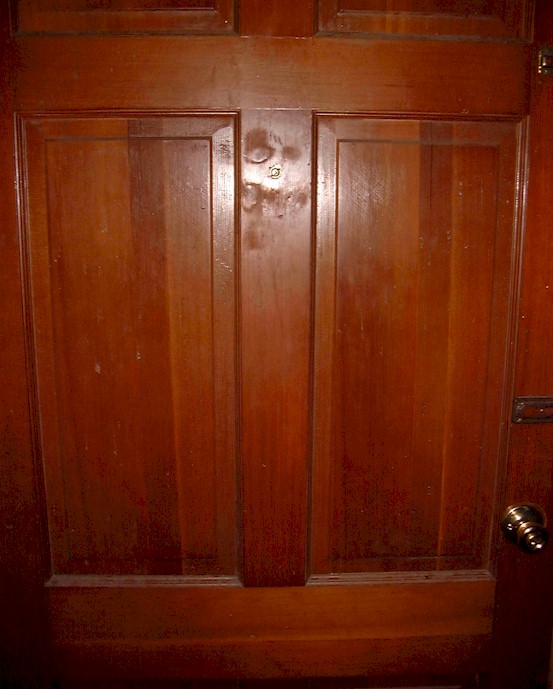
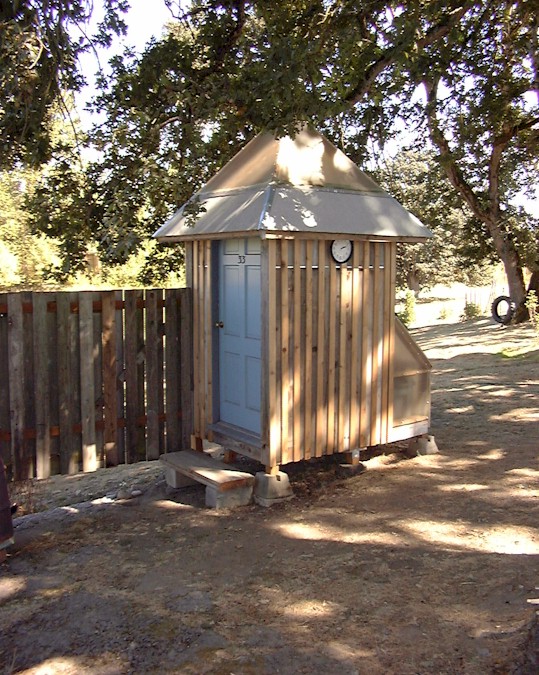
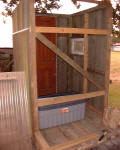
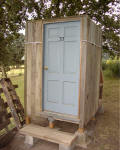
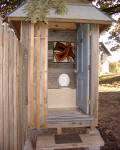
Front view. Temporary step built. The door is just
propped in the opening to test it. Need to
buy hinges tomorrow. |
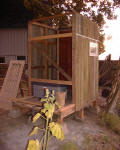
Back view looking
into the southwest corner. |
6/28/06 - We
got quite a bit done today. You can read the
captions for the details. The farther I get
into the process, the more nervous I get that
the toilet is too shaded and will not get the solar
energy necessary for proper functioning. Hopefully the fear is unfounded.
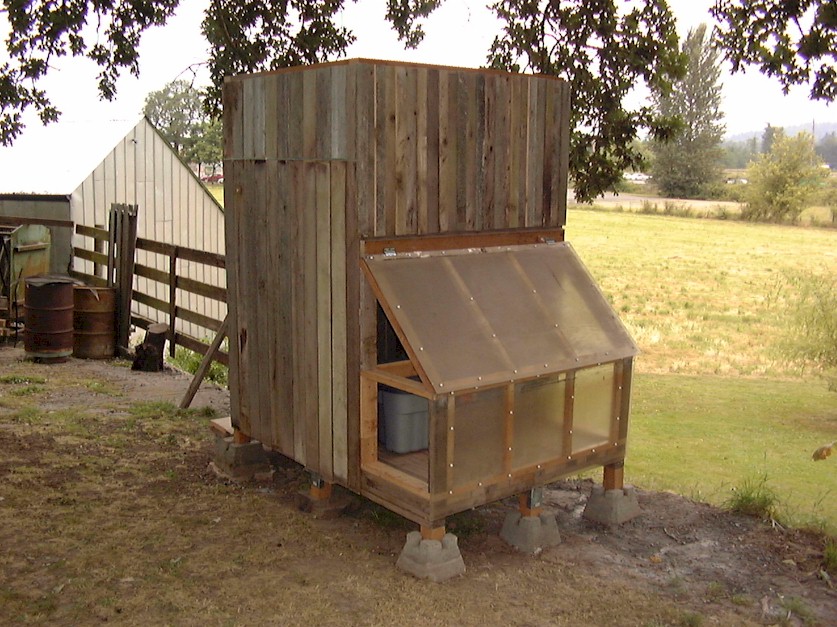
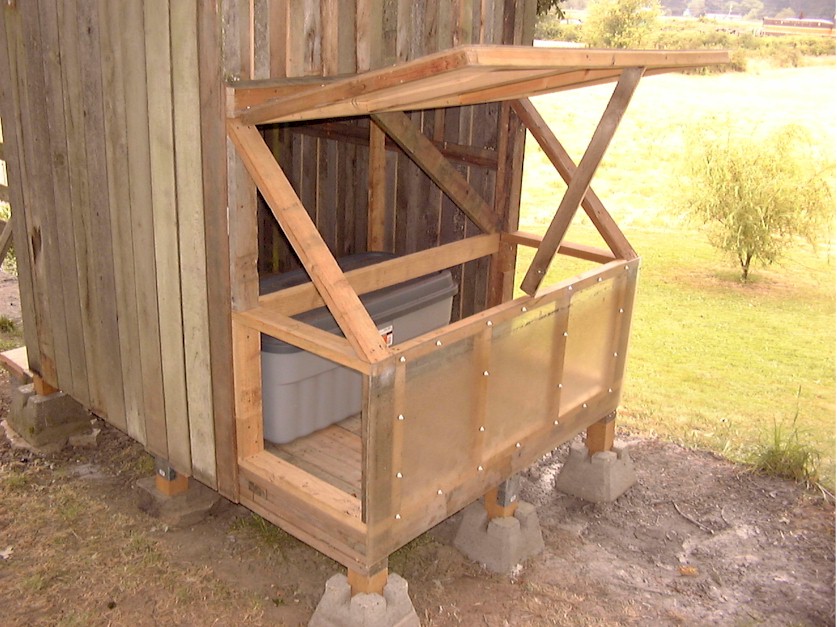
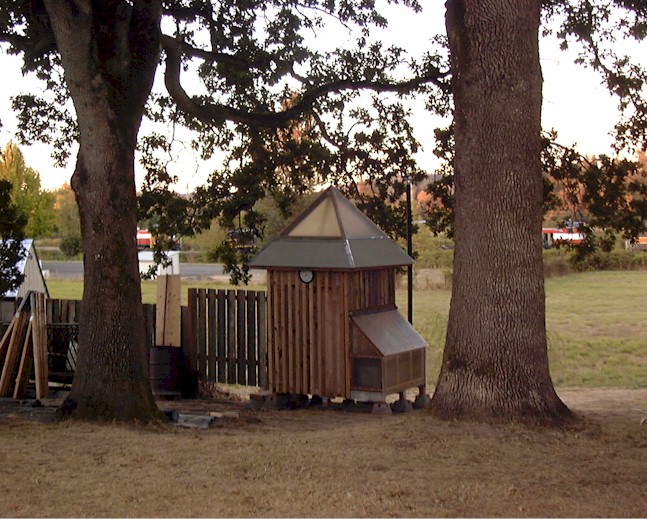
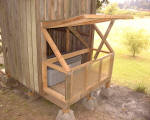
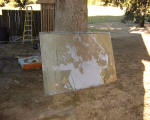
Business end view of the composting chamber. The
sheathing material is 1/4 inch Plexiglas salvaged
from a skylight replacement job a friend did. |

Back panel and lid installed. The front
panel is removable (see figure 5) for ease of
access. |

Lid in closed position. We still need to cut
and install the side panels. |
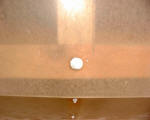
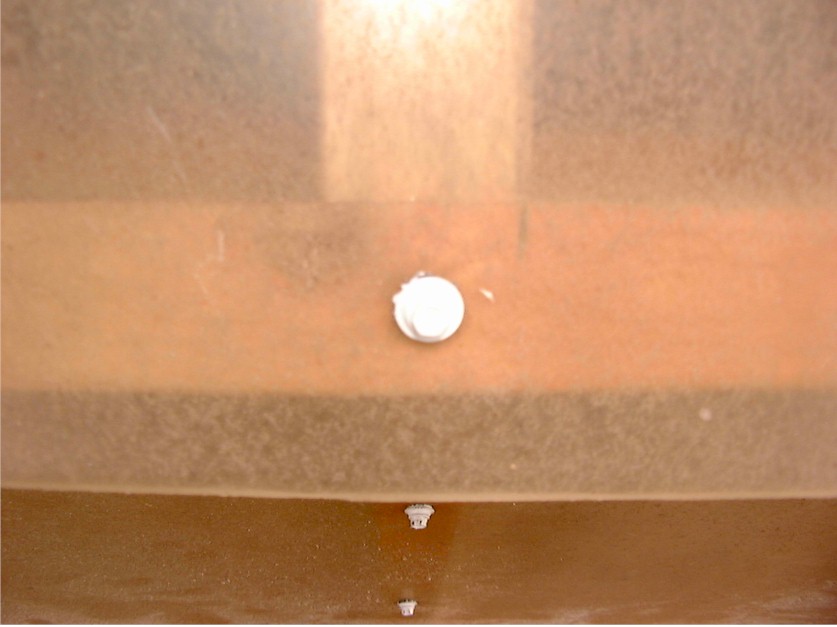
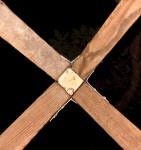
Figure 4 - Close-up of fasteners. These were
left over, self-sealing metal screws from doing
the cabin roof years ago. |
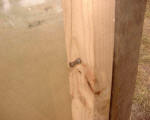
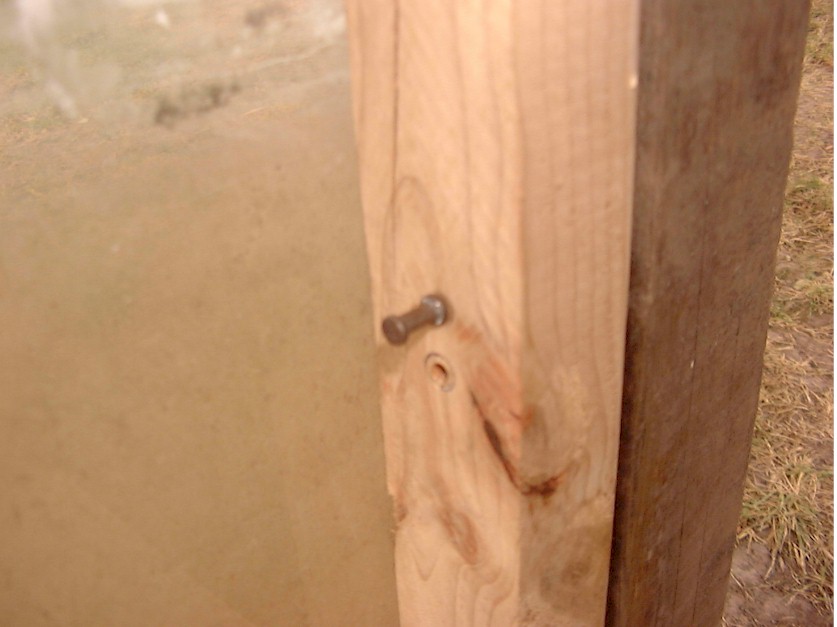
Figure 5 - Close-up view of front panel back. The panel is removable using drilled holes and
concrete nails as the pegs. |
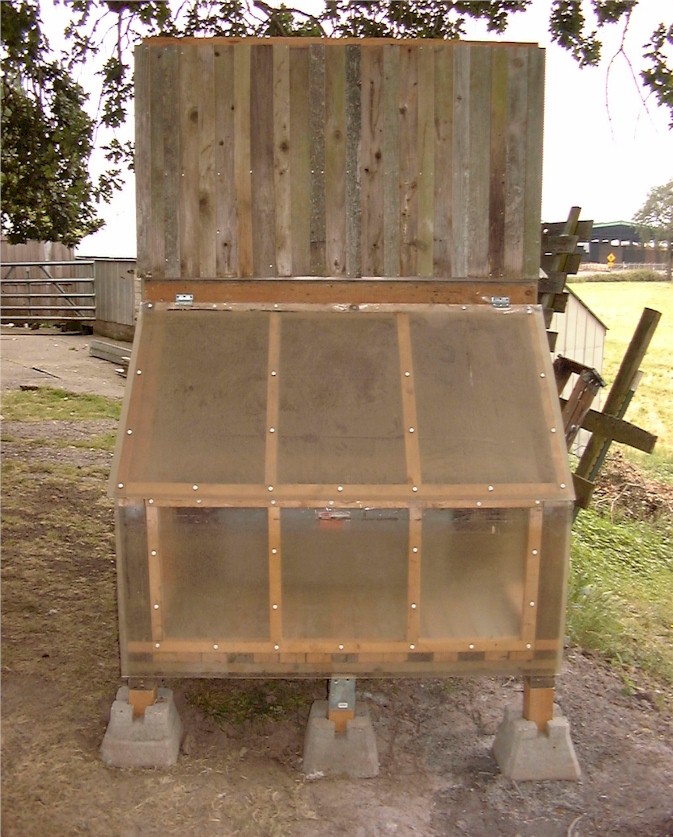
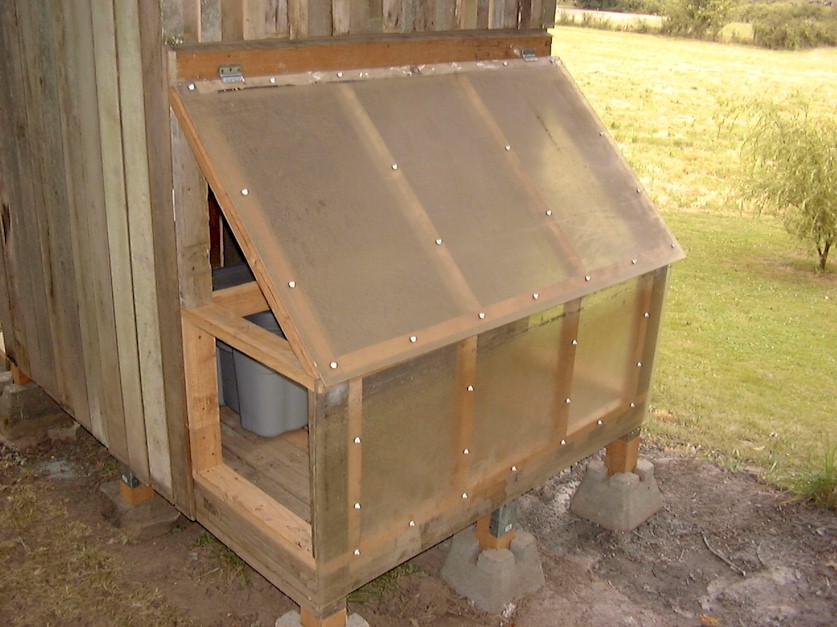
Lid in open position. |
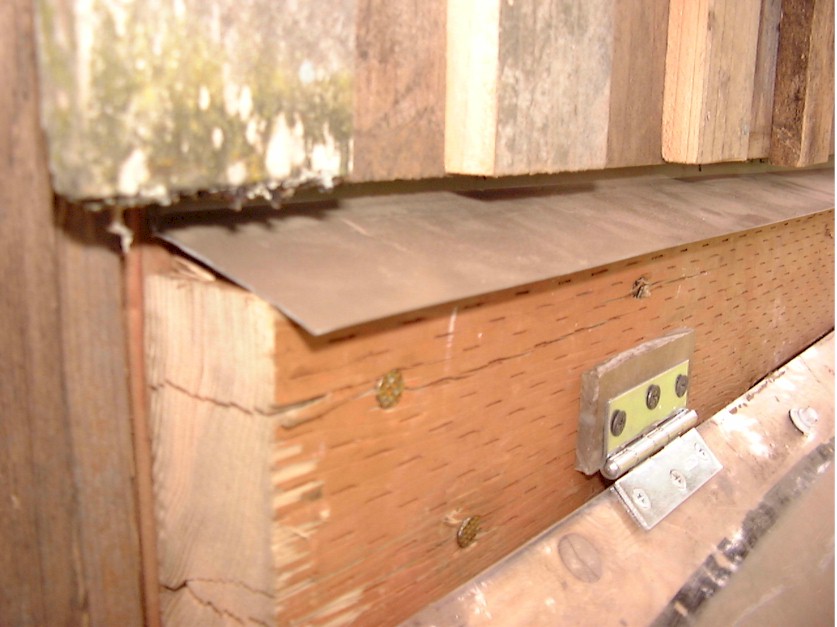
Close-up of drip flashing and lid hinge. I
will install a flexible piece of rubber over the
lid top. |
|
Door hung and hardware installed. |
7/5/06 - I
was not able to dedicate much time to this project
between the last entry and now. Sunday, John
and I got the back end (the composting chamber) designed and
framed. We also got the door hung and adjusted
as well as the knob and latch hardware installed.
Monday (the third)
we worked for about four hours. We got the
back boards and bats on and cut and installed the
Plexiglas panels on the composting chamber. Since we
do not have cedar lumber long enough for bats on the
two side walls, we used what we had and pieced
together enough to seal up the cracks from the
inside for privacy. However, this was a wasted
step as we were a long way from actually putting it
into use.
Since it was
getting late and our company was due to arrive, we
called it quits and cleaned up the yard. We
have worked a total of about five afternoons on this
project. Perhaps five more and it will be
fully operational. We will get back to finish it
soon.
 7/12/06
- Between an elbow injury, a back injury and the holiday, we have not
gotten anything done on the toilet in days. 7/12/06
- Between an elbow injury, a back injury and the holiday, we have not
gotten anything done on the toilet in days.
Today,
John got the old corral fence torn down and I gave
Dad a lumber list to pick up tomorrow at Home Depot. Of all of the salvaged lumber I have on hand, I do
not have any long pressure treated 2 x 4s. Hopefully we will get the new fence up tomorrow. Feels naked with the old corral fence gone.
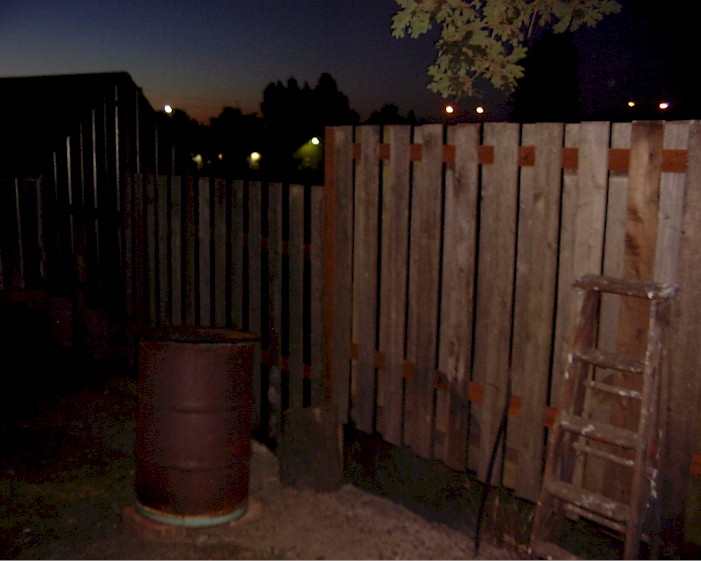
7/13/06 - We
worked until dark, taking time to patch up some torn
up tin on the loafing barn, built the new fence
structure, and started hanging the fence boards.
Like everything around here, it takes longer than it
sounds because we are designing and problem solving
as we go along.
7/15/06 -
Today we got the privacy fence completely built. This is all from wood that we salvaged from the
state imposed fence removal last year. It
is all pretty sound cedar lumber but is weathered
and makes the fence looks like it has been there for
years. I like that. Prefer it to new
looking.
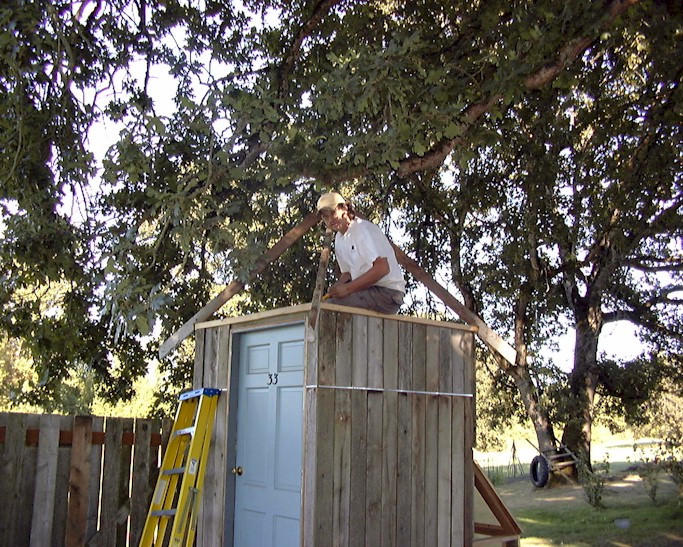
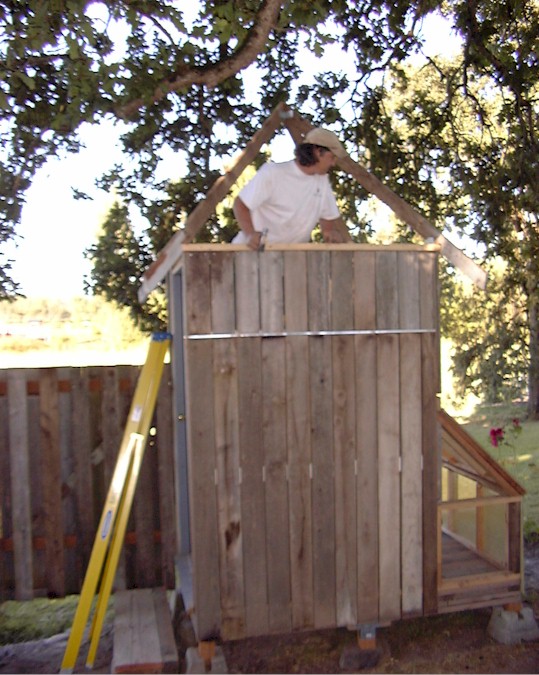
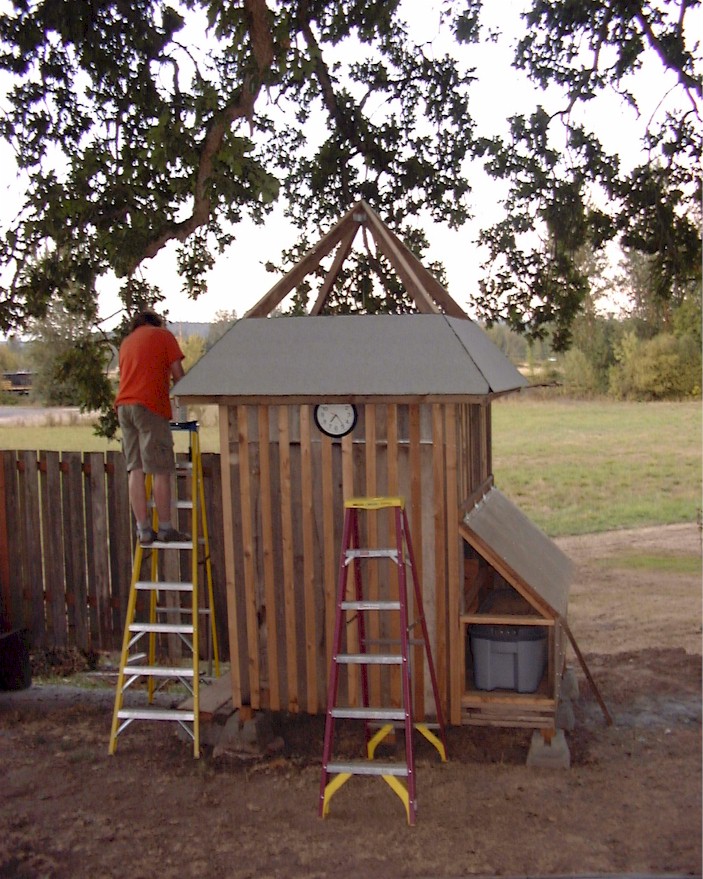
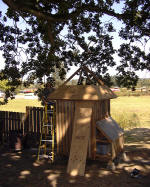
Then we started to
tackle the toilet roof. Finally working on the
outhouse after a couple of weeks hiatus. Anyway, instead of a standard roof like on the
cabin, I wanted to top the structure with a pyramid. Initially I wanted the pyramid to be composed of
four perfect triangles. This posed a problem
that took hours of digging through carpentry and
math textbooks, searching the internet, and trying
to remember geometry and trigonometry. It was
the exact angle of the compound miter cuts that I
was seeking.
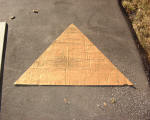
 Anyway,
I ended up realizing that a pyramid can be created
from any four, equally sized, isosceles triangles
(as long as the height is greater than one-half the
length of the triangle's base). Anyway,
I ended up realizing that a pyramid can be created
from any four, equally sized, isosceles triangles
(as long as the height is greater than one-half the
length of the triangle's base).
So after a couple
of hours of thinking, research, trial and error, and
failure, I threw the boards on the ground, made the
top angles 45's, and called it good. After
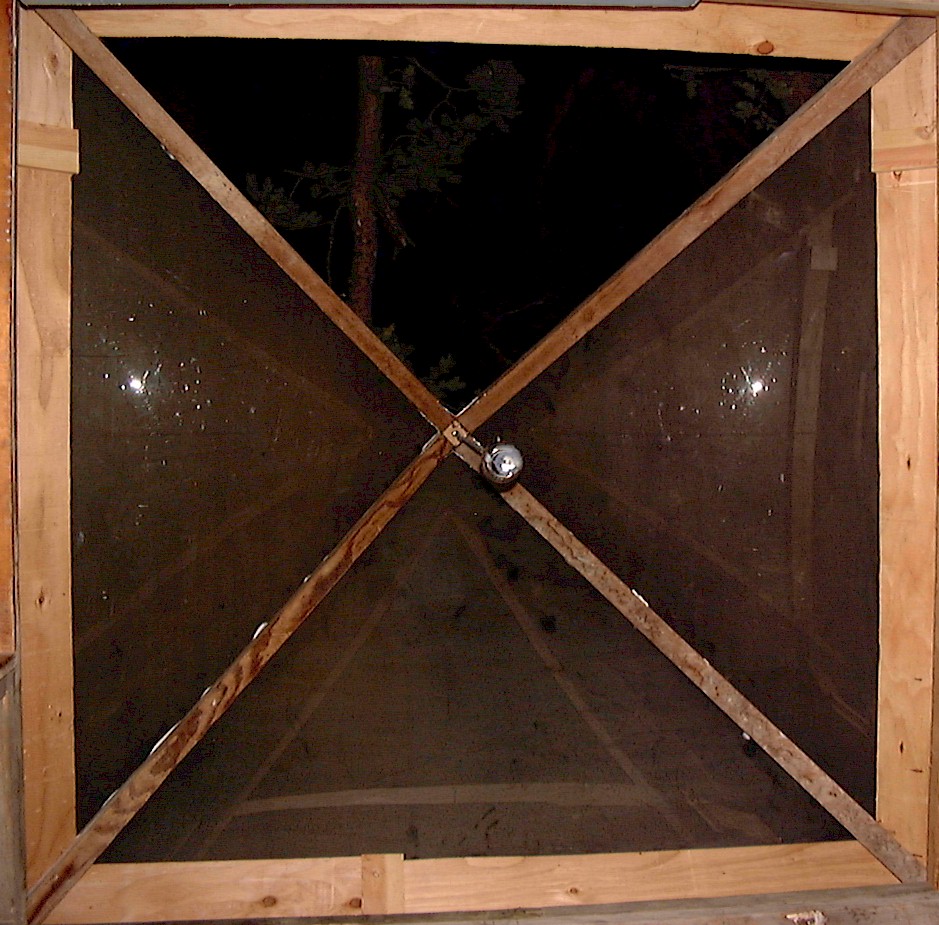
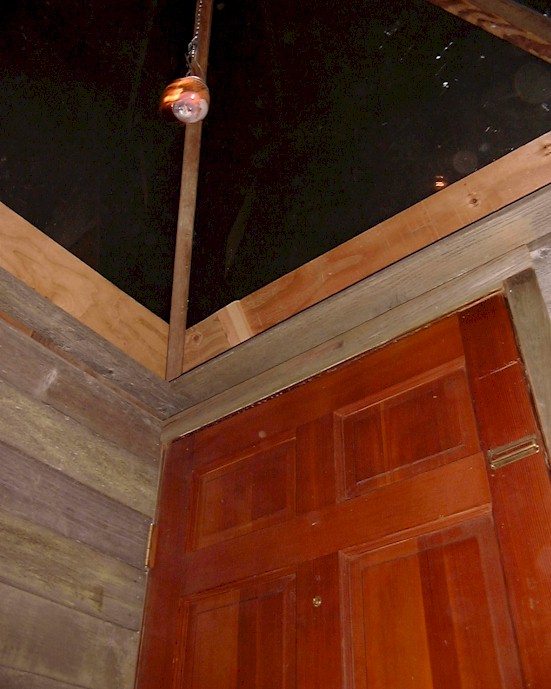
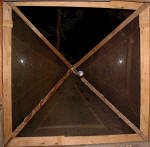
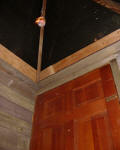
getting the rafters installed, I called it a day. Hopefully we will start on the roofing tomorrow. Oh, one point of interest -- the rafters are reused,
nearly full dimensional, old Douglas Fir rafters
from the old chicken coop. The picture to the
right is looking up at the bottom of the roof's peak
from inside the house.
9/6/06 - After a month and
a half, I am finally carving
out a bit of time to work on this project. About three weeks ago (August 12) John, Dad and I
went to Lynn and also Joni and
 Jim's
house and scrounged a huge pile of lumber. Lynn's was free and I gave Jim $200 for his. I
got some cedar boards that John and I milled and
planed to make the remaining bats for the siding. We got those nailed up and then went back to work on
the
equipment shed project. Jim's
house and scrounged a huge pile of lumber. Lynn's was free and I gave Jim $200 for his. I
got some cedar boards that John and I milled and
planed to make the remaining bats for the siding. We got those nailed up and then went back to work on
the
equipment shed project.
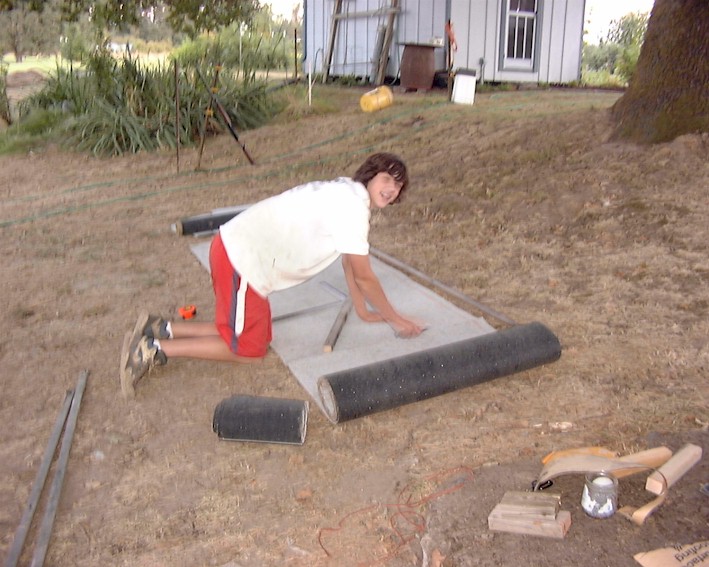
Yesterday I started
working on the outhouse roof. I can feel the
rainy weather season bearing down on me so I moving
fast. Today we got the sheathing up which I will
cover in roll composition roofing (leftover from
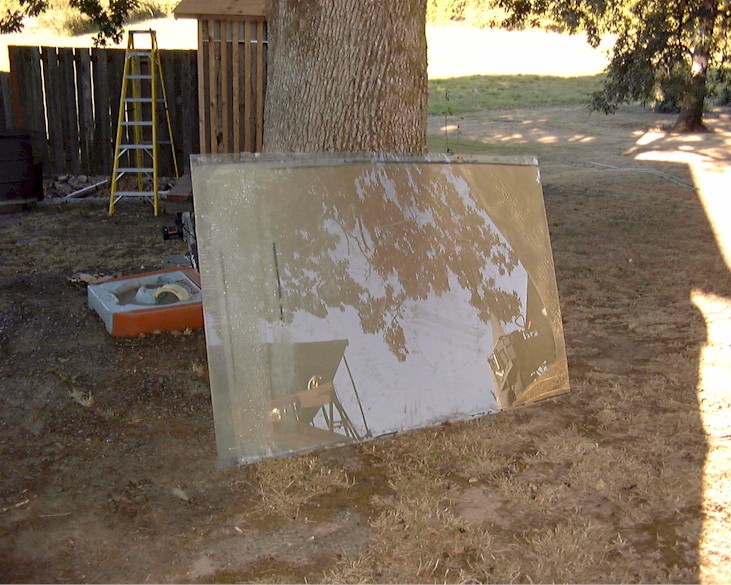
building the chicken coop years ago). Then we pressure
washed the last four panels of salvaged Plexiglas
sheets that will be formed into the skylight. Once I get the roof on, I will be able to breath a
bit easier and come back to the interior as soon as
I get the
equipment shed done.
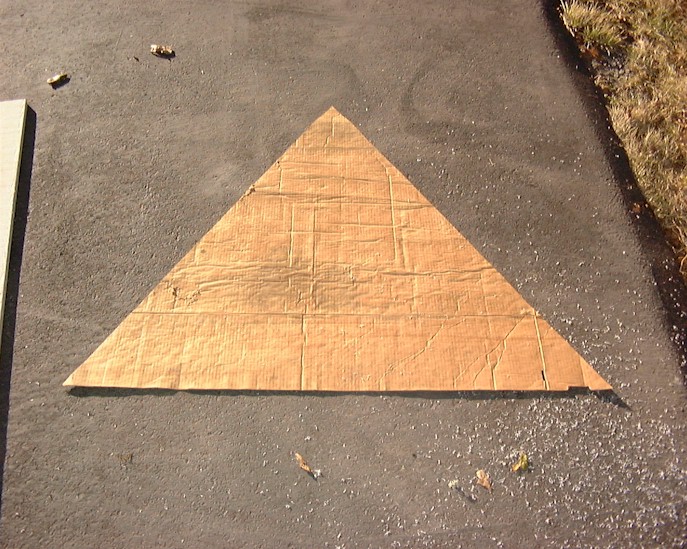
Cardboard Template |
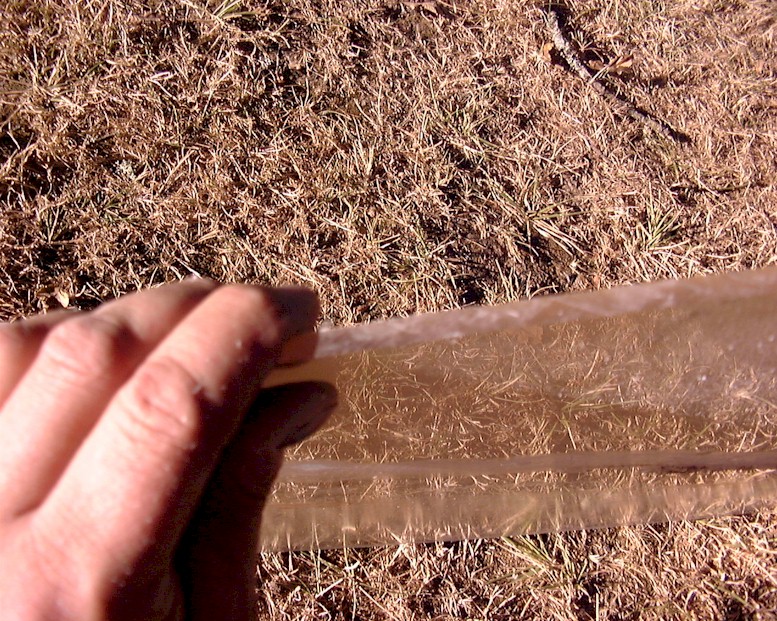
Thickness of the
Plexiglas |
Sheets |

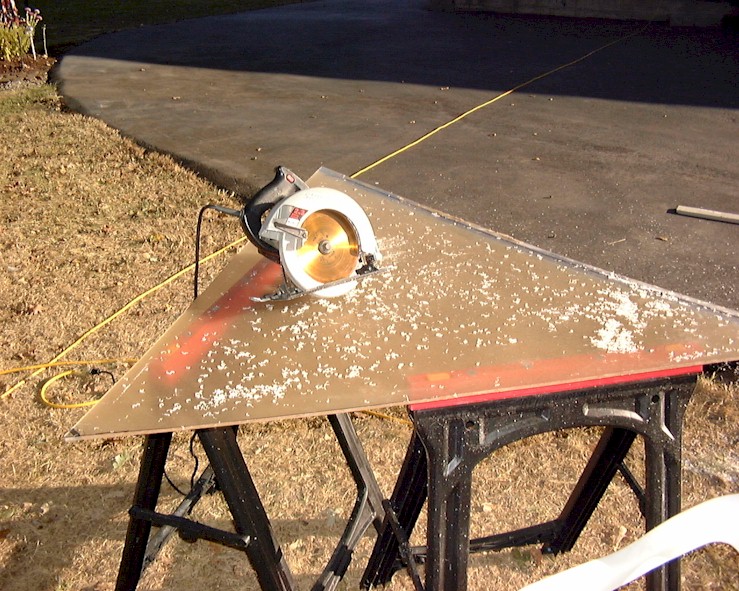
Cutting |
|

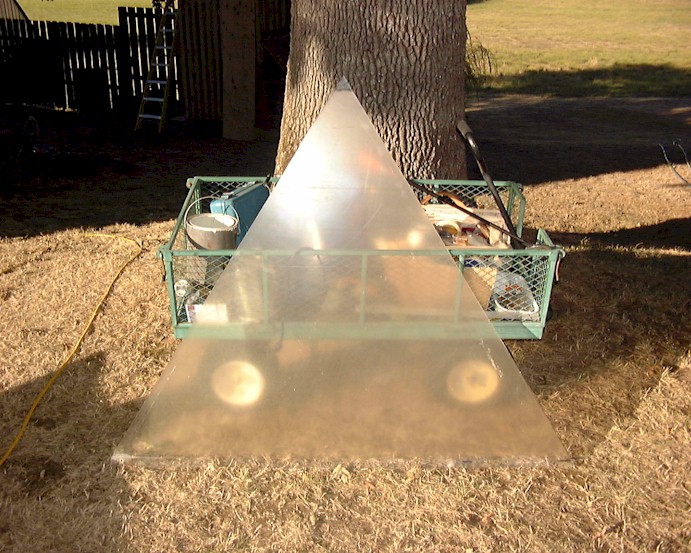
Panels Cut |
9/7/06 - We secured the
plywood sheathing and added some blocking. Then
started working on the skylight. Since John
was not home, I didn't want to do anything too crazy
on the top of a ladder or roof so I had to rethink how
I was going to cut the heavy sheets of plastic.
The sheets were
1/4" x 4' x 5' and pretty heavy. Throw in a bit
of wind and
the top of an 8' ladder . . . I do not bounce like I
did when I was twenty. So I hunted and found a
big chunk of cardboard and used that to make a
template. I then used the template to cut the four panels of the pyramid.
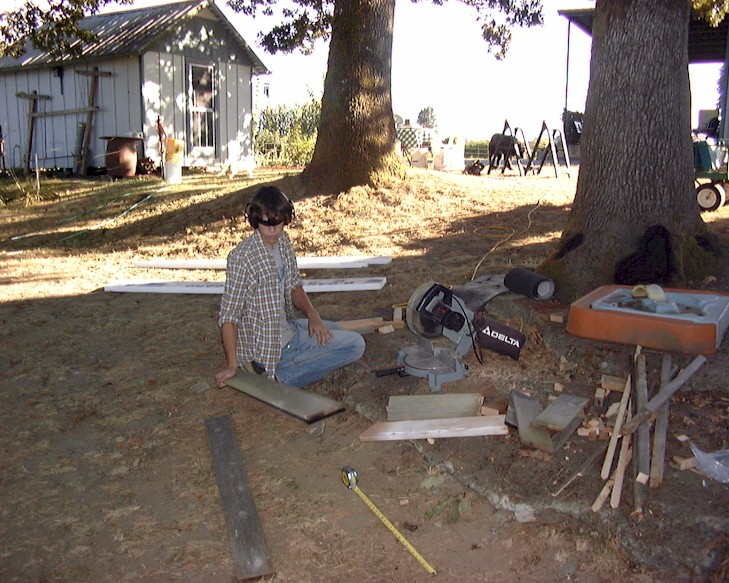
9/8/06 - We continued
working on the roof. Before I could get started, had to mill pieces to
to sit on top of the rafters so that the skylight pieces would
be on the same plain as the composition. Got the tar
paper nailed off and while John cut out the roofing, I would
goop up the roof with tar and install a
piece.
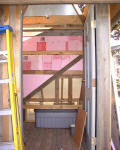
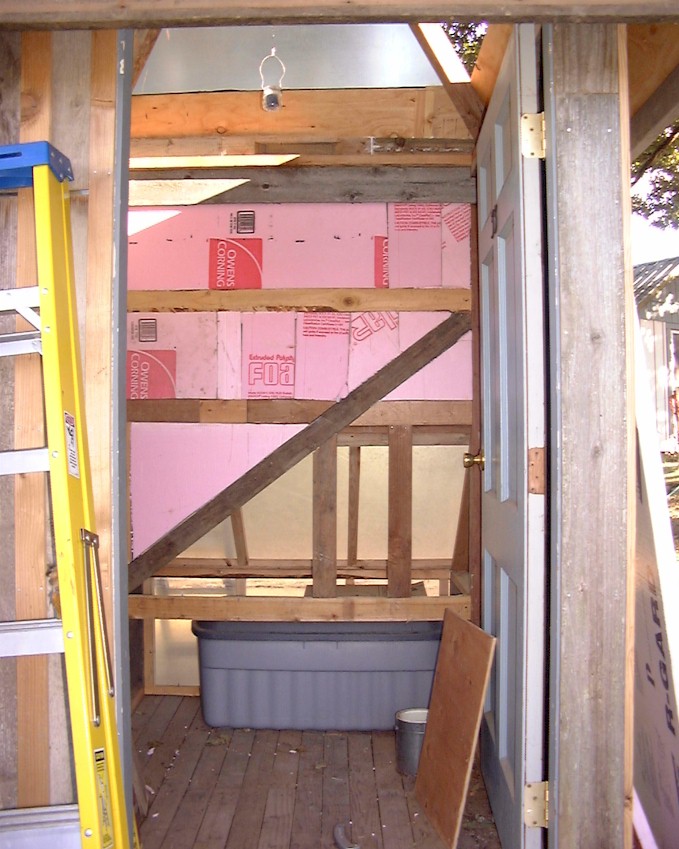
Insulating the back
(east) wall. |
John cutting boards
for the walls. |

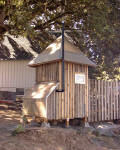
Solar composting
chamber complete |

Back (east) wall. |
|
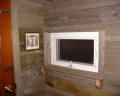
View of the skylight
from the inside looking up at night. |
9/9/06 - Got a bit more
done today. Caulked all of the cracks to make
the room insect resistant. Cut the last piece
for the solar chamber and got it all completed
except for weather stripping. Scrounged all of
the tubes of caulk I could to install the skylight
panels but we were short so will have to install one
panel tomorrow. So we shifted gears, insulated
the back (east) wall and installed the wall boards. Getting closer! Should be able to get the
bench installed tomorrow.
South & Back Walls |
North & Back Walls |

Front & South Walls |

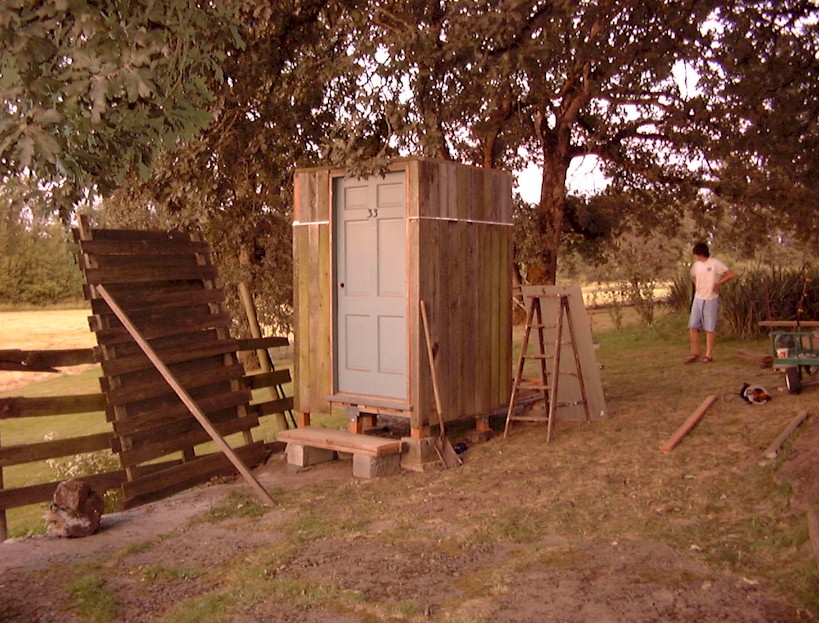
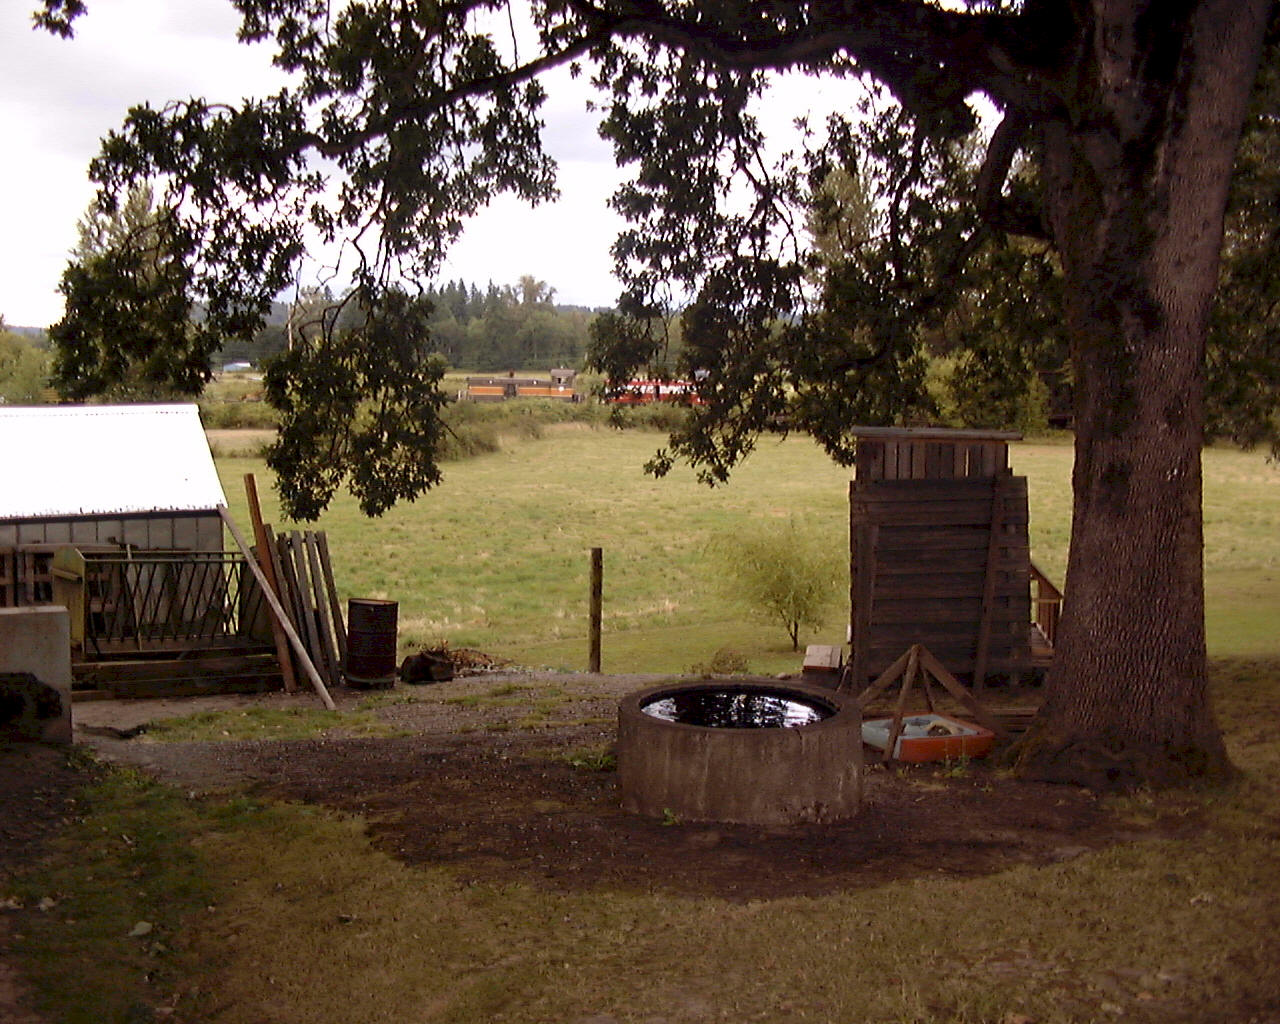
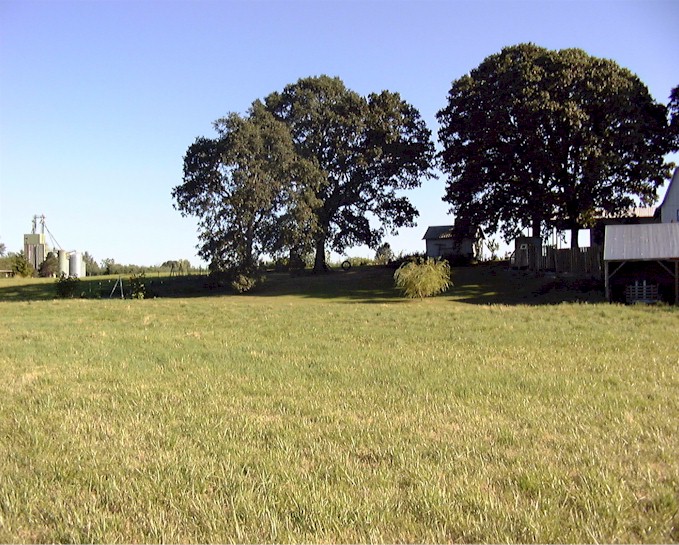
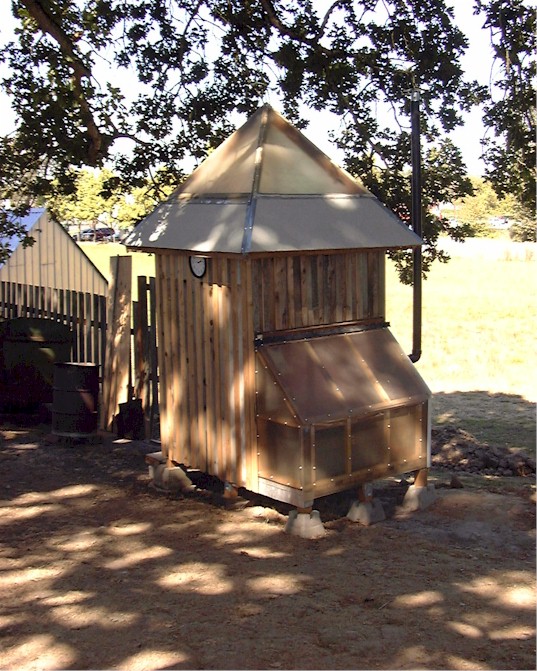
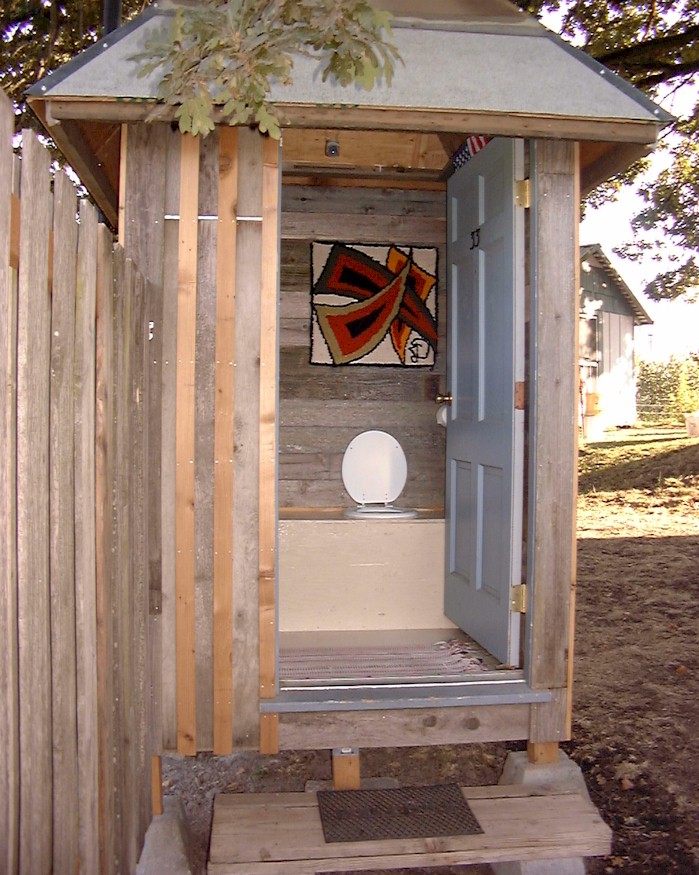
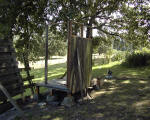
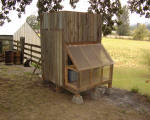
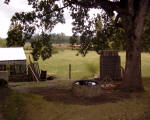
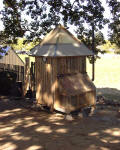
Our little outhouse
in the trees |
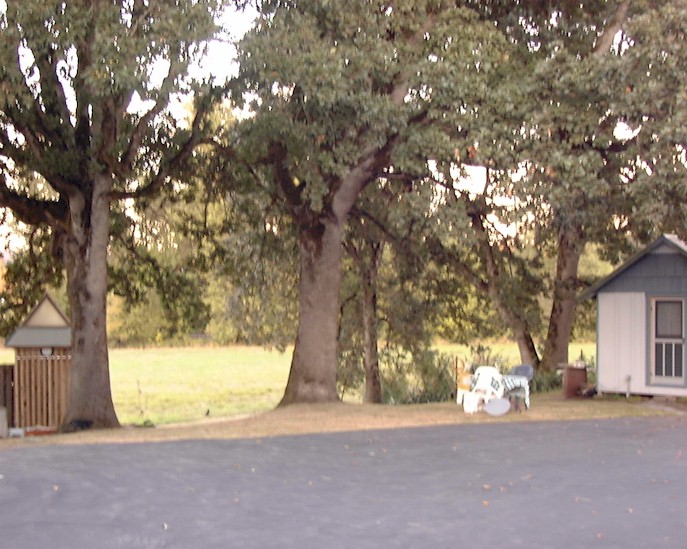
|

Showing perspective to where the toilet lives in
relation to the cabin. |
9/10/06 - We moved a few
steps closer to completing another project today. It is really hard for me because I want to start on
the machine shed / pump house so I can get that
buttoned up before the rain really starts.
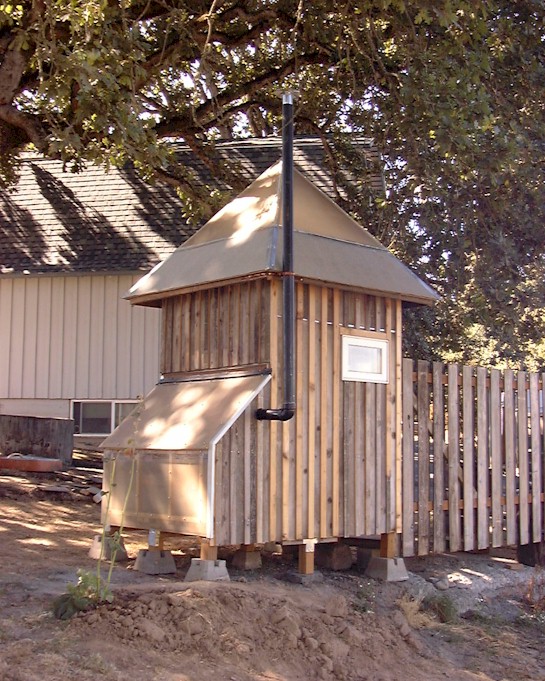
Today we got the
roof done and I caulked the heck out of it and any
little cracks. Finished odds and end flashing,
weather-stripping, and made and installed a vent
stack. Basically worked at getting the outside
of the building all completed. And we did.
We did have to head
into town to the hardware store to pick up some
caulk, a piece of flashing for the roof ridges, a
toilet paper holder, a top for the vent stack, and
an ABS "L" fitting.
We
now have about $50.00 into it! Recycle and
reuse has been the key. Tomorrow I will focus
on the interior.

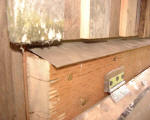
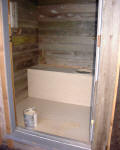
Back |
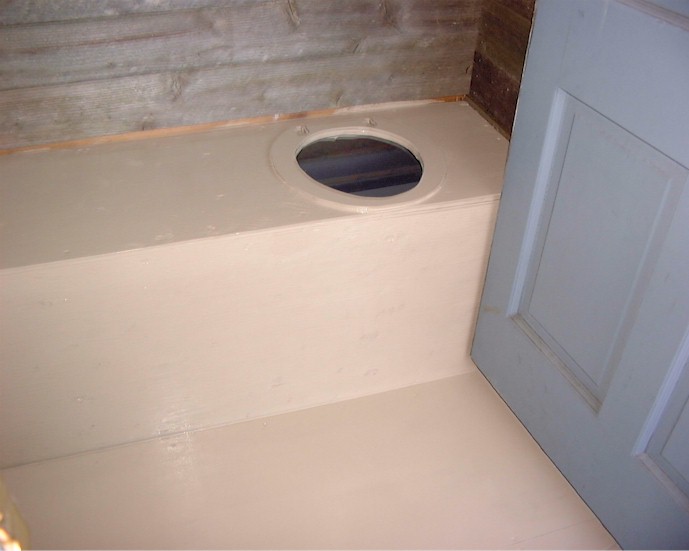
Looking down on the bench. |
Looking up towards the perimeter shelf. |
|
|
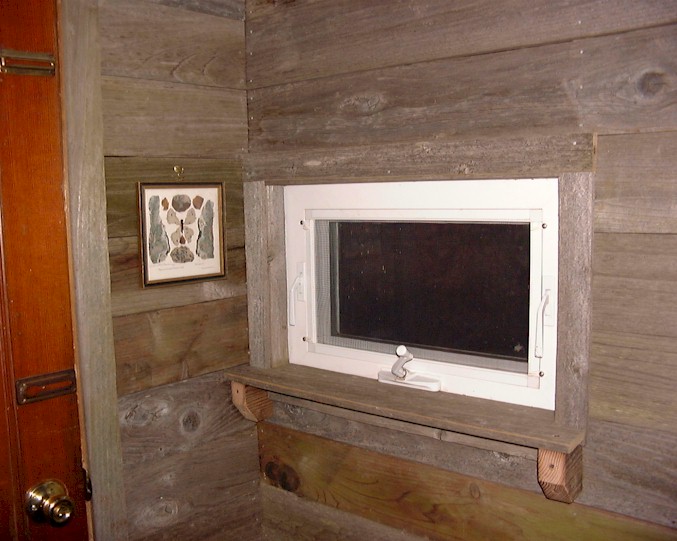
Window trimmed including shelf. |
|
9/16/06 - Most every day
this week, except for Thursday (I think as it was
rainy), we got a couple of hours on the project. Today we came very close to finishing.
At
about 4:00 p.m., John and I both got to work on the
toilet. Finished the wall boards. Trimmed out the
door and the window. Build a shelf for a window
sill. Built a shelf all around the inside perimeter
at the top of the wall. Washed the window and door. Finished framing the bench and just before dark, got
the plywood cut. Famous last words, but I
think we can finish tomorrow.
Painting Floor |
|
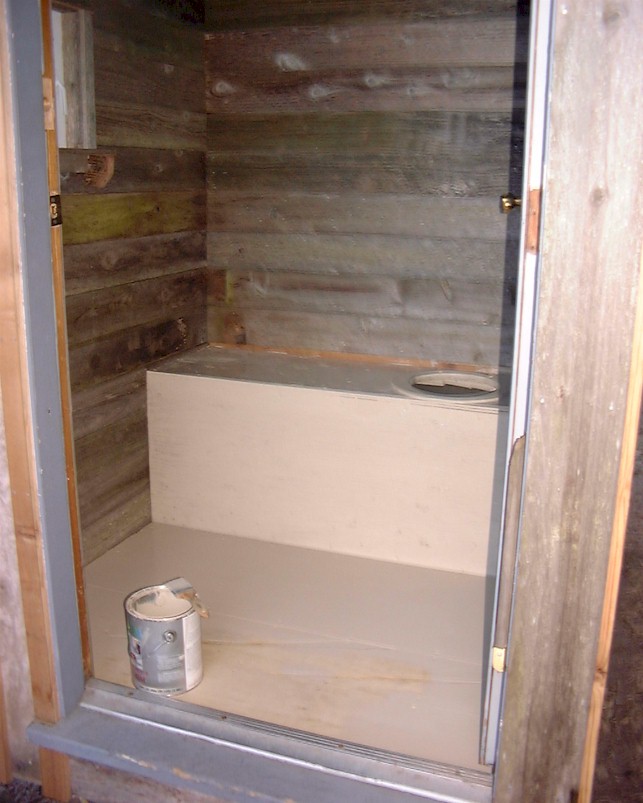
Bench and floor
painted. |
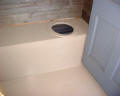
9/17/06 - About 4:00, I
started working on the toilet.
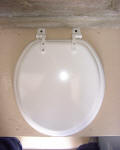
I
got the hole cut in the bench and the the next
problem that needed to be solved was how to get the
seat is sit tight against the bench and the lid
tight on the seat. I took the seat apart and mounted
the hinges on the top of the lid. Then I used some
3/8″ flooring to create a shim of sorts that will
allow the hinges to work but keep the seat lying
flush on the bench. The goal was to create a seal so
that odors do not vent into the room and can head on
up the stack in the solar chamber.
I
then used the floor paint that was left over from
the cabin to seal up the underside of the bench, the
front of the bench, and then I mounted the top to
the bench and painted it.
After supper, I got the floor screwed down and
painted. Then we cleaned up and it was about dark.
|
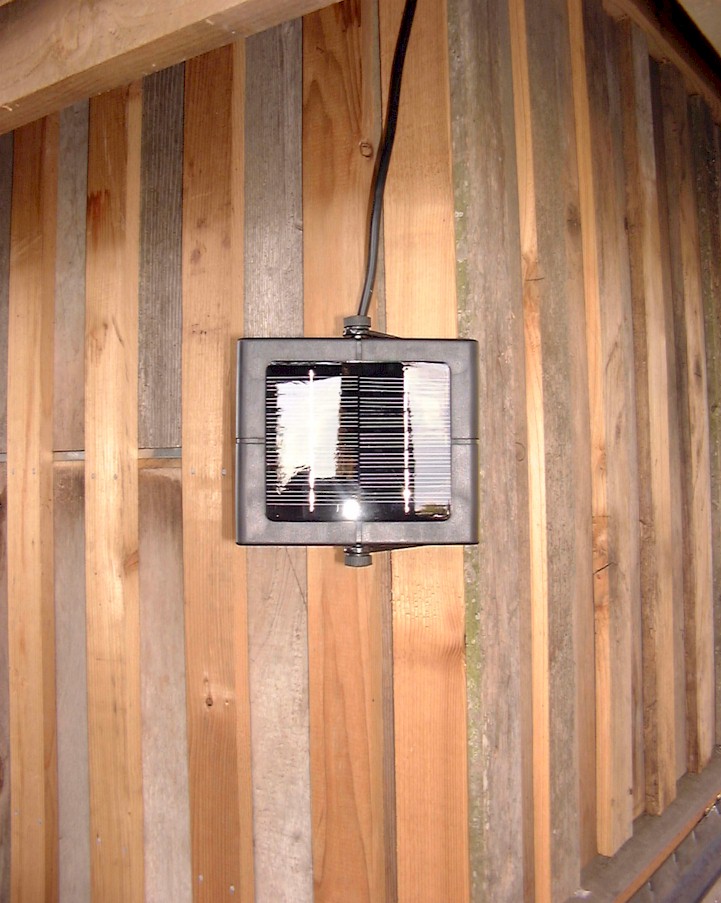
Photovoltaic panel and integrated charger. It contains and maintains four AA-sized batteries. |
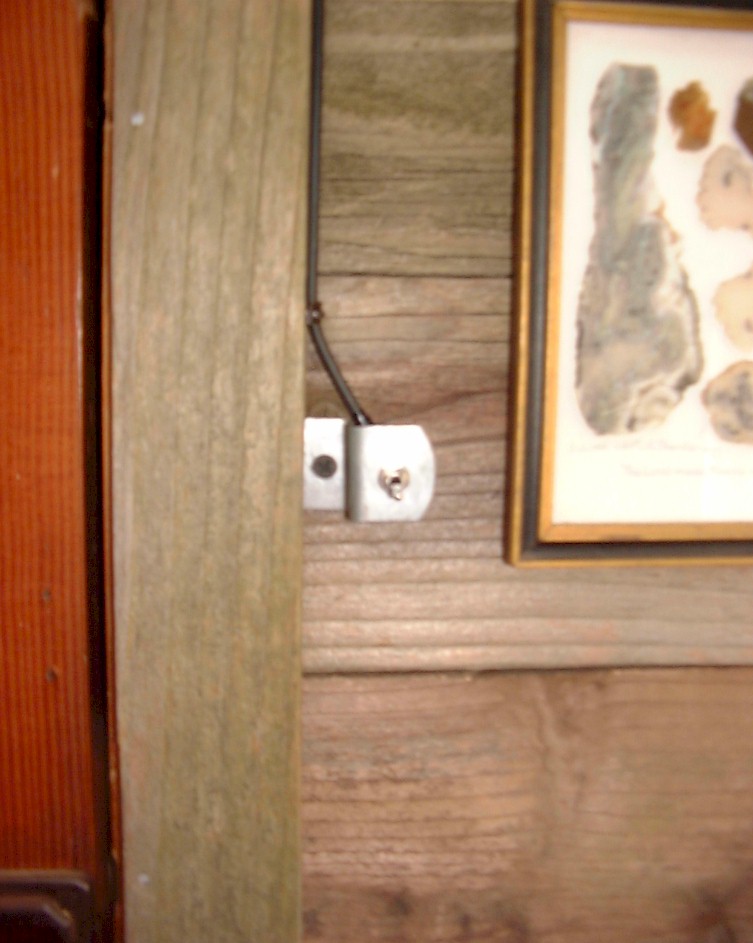
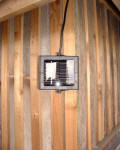
The
system had an on/off switch on the body of the
lamp but since it is ceiling mounted, that was not
practical. I tore the lamp apart (a 6W
florescent) and wired up a "remote" switch. I made a mounting bracket for the switch and
mounted it in a standard location. |
Here
is a shot of the complete interior portion of the
system. I had Dad pick this up at a local
tool liquidator a few months ago. Regular
price is $39.99 but I got in on sale for about
$30.00. |
9/18/06 - Today the
forecast was rain, and in the morning it looked
like ark sailing weather. But it the afternoon
it dried up, got warm, and actually got sunny. So out to the toilet to work I went.
It
was a puttering day. Had a cold beverage, gained
some patience, and started dismantling the brand new
solar lighting system I got. Rewired it per my
needs (see below) drilled the necessary hole in the
building, and got it operational.
Click
Here for the Solar Light Manual
(PDF)
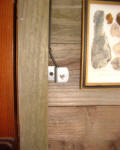
That
done, I set to finishing up little loose ends. Hung a couple of things on the wall. The
Picture frame of rock slabs (looks like a butterfly,
it one my Great-grandpa Schoenborn made me in 1979.
The
geodesic patterned hooked rug handing on the wall
behind the toilet was made for me in the mid-70s by
my Uncle John L. Dunton, Jr. It is an original
design and he told me that out of the dozens he made
back then, he thinks that I might be the only one to
have hung onto it. Anyway, its colors look
great in this room.
Additionally, I used a chunk of roofing paper to
make a pee splash guard at the front of the toilet,
installed some toilet paper in the holder, threw
down a rug, installed the toilet seat, and broke it
in. It is now officially open for business.
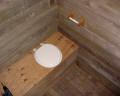
|
Interior shot. Seat up for illustration
purposes. It is intended to remain down when
not in use. |
Click the picture to see inside . . . if you dare! |
Project Summary:
This
composting toilet was completed with a minimum
amount of cost (less than $100 including the solar
lighting system) and about 60 hours of time. It turned out to be an attractive and welcoming
structure that is completely self-contained. This includes passive solar lighting from the
skylight and the screened window during the daylight
hours and photovoltaic derived electric lighting at
night.
Its
key design features include:
-
Portability - Although our design is heavier
than Mr. Warnberg's, we could easily use the forks
on our
IH-606D tractor
to pickup and relocate the building.
-
No Electric Hook-up Required - As mentioned,
passive solar is used and optionally the
photovoltaic system is used. Passive solar
heat is used to heat the composting chamber and
create convection currents for ventilation.
-
No Foul Odors - Unlike the pit toilets people
think about when they hear the word "outhouse",
this composting design is an aerobic process in
which microorganisms and earthworms convert the
organic material into a safe and valuable soil
amendment. The by-products of the process are
heat, water vapor, and carbon dioxide.
-
Environmentally Safe - Again, this is a
completely self contained facility like a "porta-poti"
but differing in that it actively and efficiently
processes the organic material. There is no
leachate to contaminate waters. Pathogens
are destroyed by the heat generated by the thermophilic composting and aging.
-
Low Maintenance - The interior in no more
difficult to clean and maintain than a standard
bathroom in your house. Cleaning the
composting chamber will depend on the amount of
use it receives. We will report our results
on the
operating information page.
Again,
if you are interested in learning more and
purchasing plans and an informational kit (very
worthwhile and reasonably priced), contact Larry
Warnberg through his web site at:
www.solartoilet.com.
|